Kids Buteyko course July 2018 school holidays

Buteyko poster Kids Syd Jul2018 JPG.jpg

Does your child have asthma?  Suffer from frequent recurring colds?  Or do they feel anxious more than you think they should?Buteyko breathing may help! 

I will be holding a children's buteyko breathing course these school holidays in Willoughby NSW.  

Children will learn how to breathe correctly to reduce the chances of health complaints and improve their overall sense of wellbeing.

The course is run over 3 days with a 1&1/4 hour sessions each day. Parents are requested to attend with their children so as they can help them implement the techniques.

Contact me for more information, or book online at www.mimbeim.com

Carrot cake

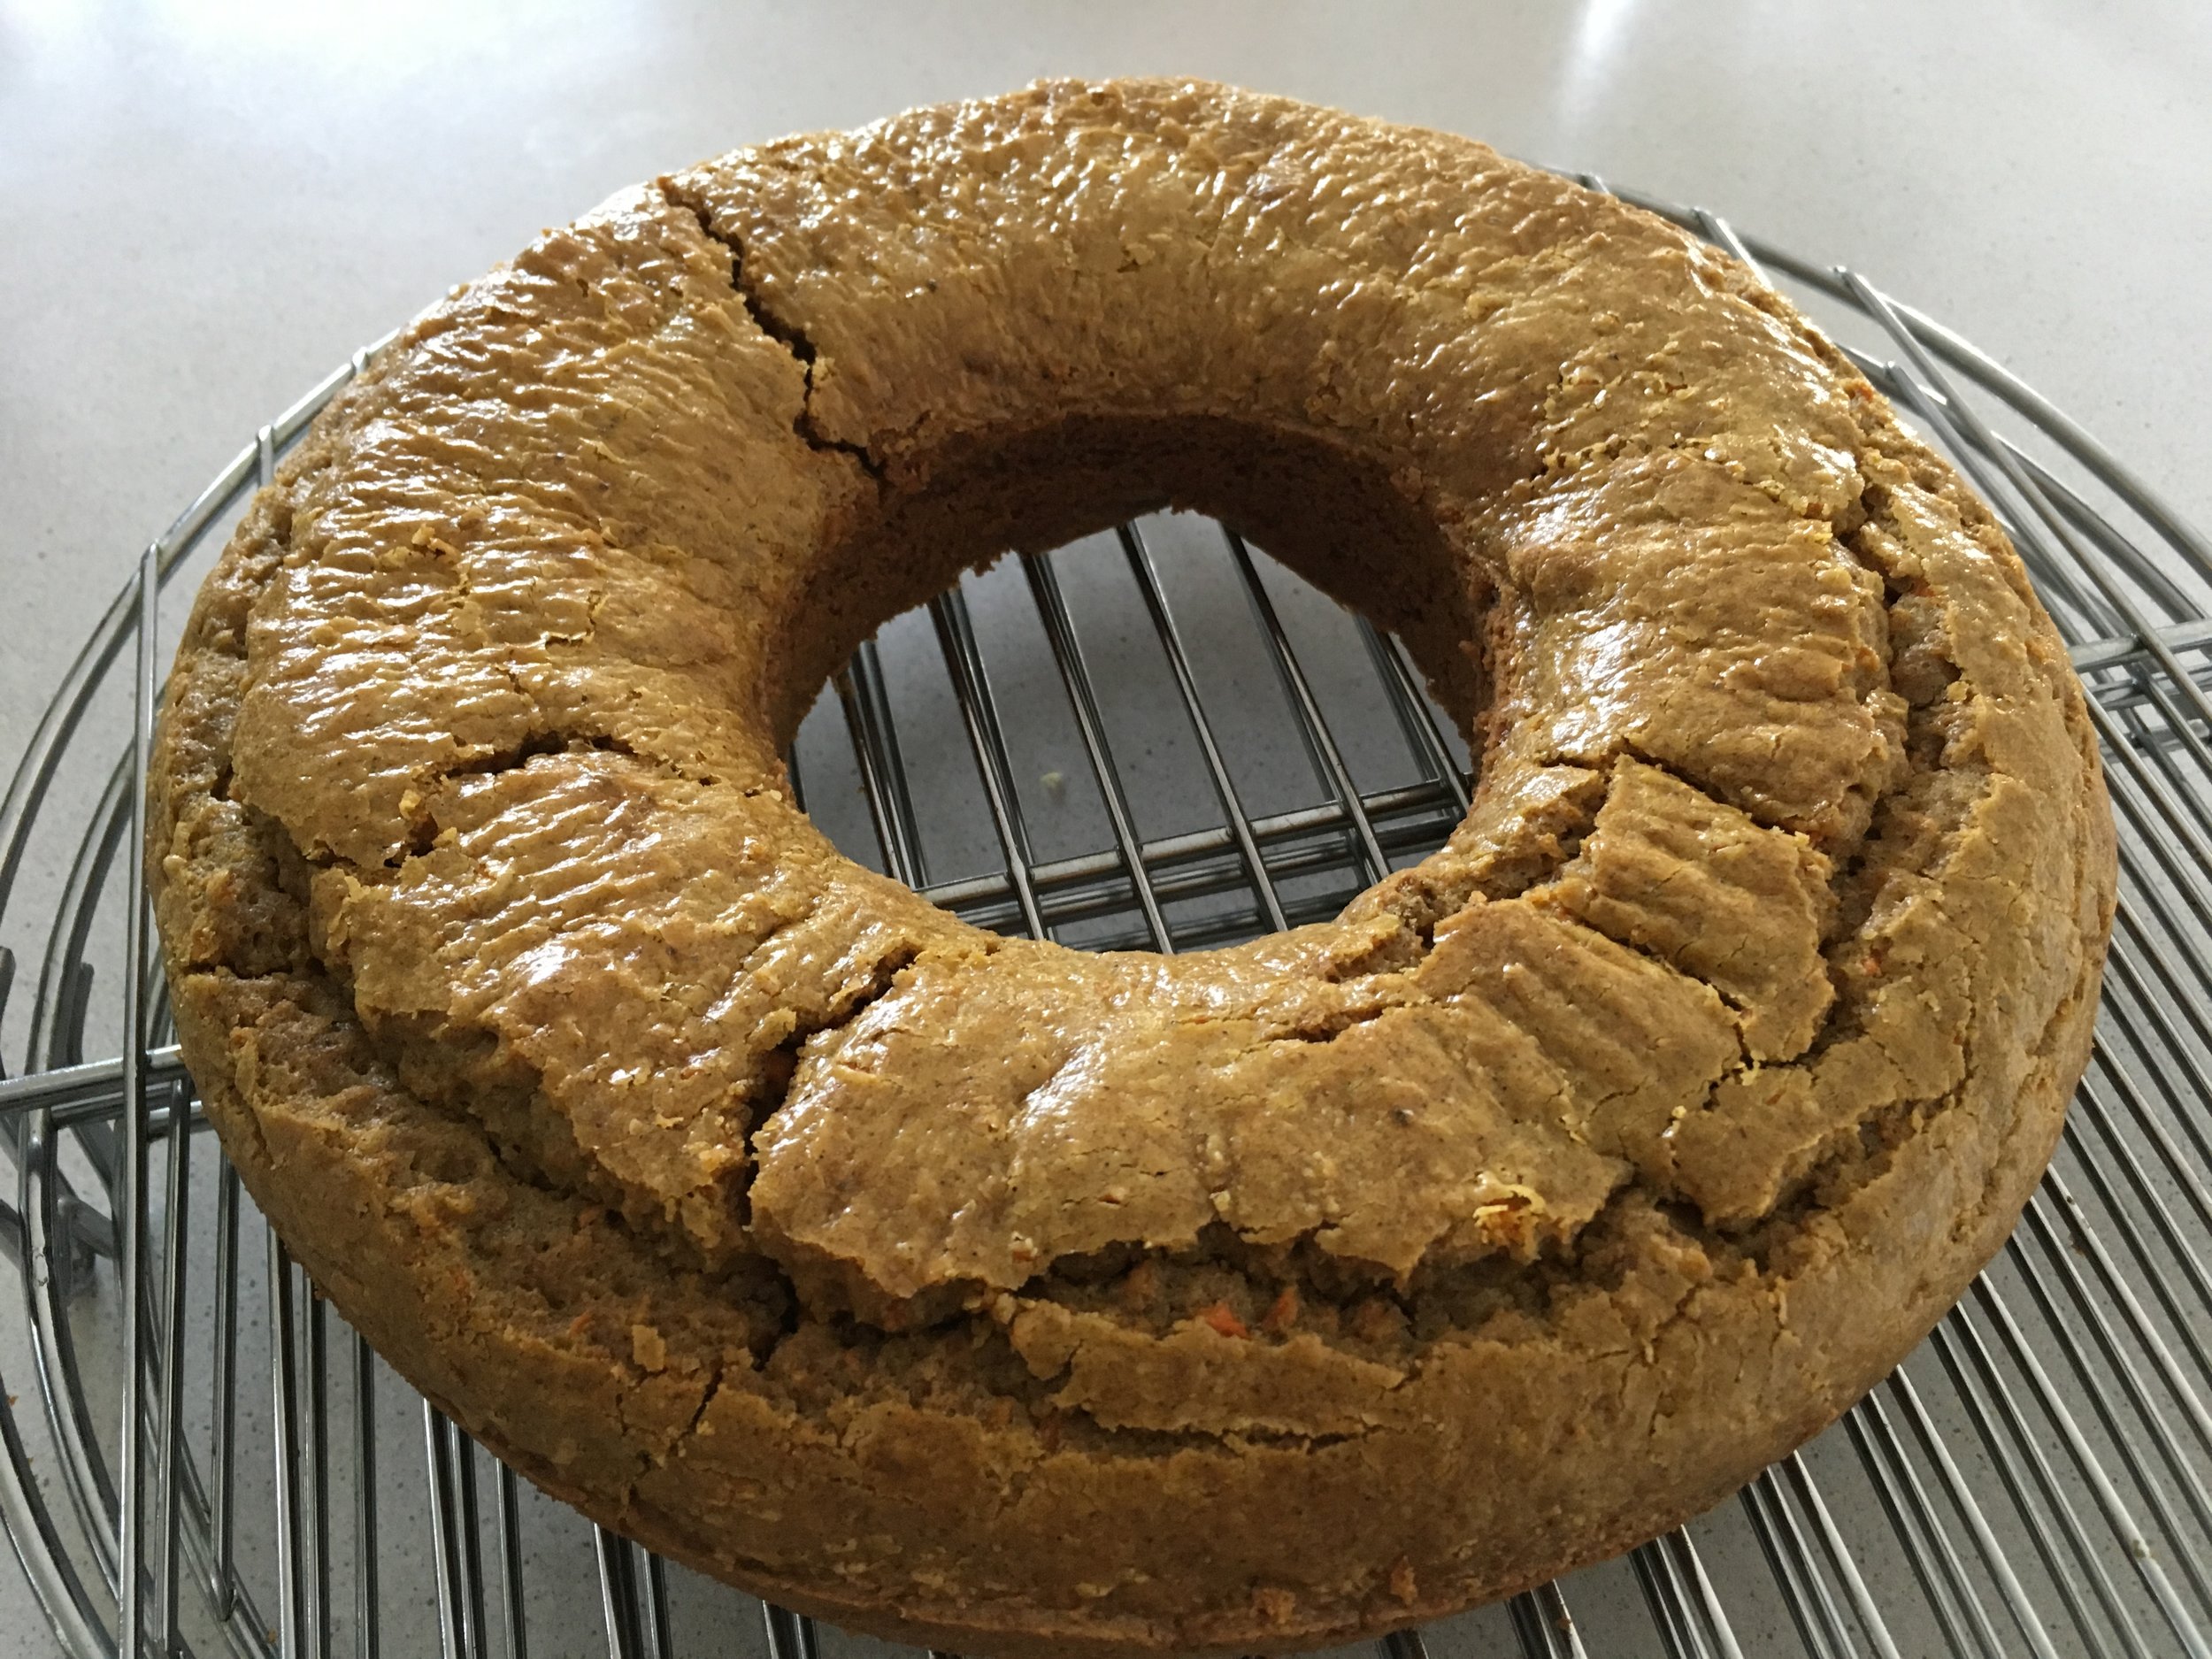
I found a couple of carrots in the bottom of the crisper that were looking anything but crisp. I could have tossed them, but instead I peeled off the outer layer and baked them into a carrot cake.  

I adapted this recipe from a conventional carrot cake recipe that I picked up at a local show.  Usually I would just sub in some almond meal and switch the sweetener, but since I wanted to be able to pack it in the kids school lunch boxes, I had to figure out something else.  I also accidentally brought 2 packets of pepitas, so thought I'd try to use some of them.  The end result was pretty good!

Recipe:

2 medium carrots, peeled & grated (dont have to peel but they are sweeter without the peel)
2 eggs
3/4 cup olive oil
1 tsp vanilla
1/4 cup maple syrup (or sweeter of choice)
1/2 cup buckwheat flour
1/4 cup pepitas (ground in food processor)
1/4 cup tapioca flour
1 heaped tsp ground cinnamon (less if you dont like it too cinnamony)
1/4 tsp ground clove
1/2 tsp ground ginger
pinch salt

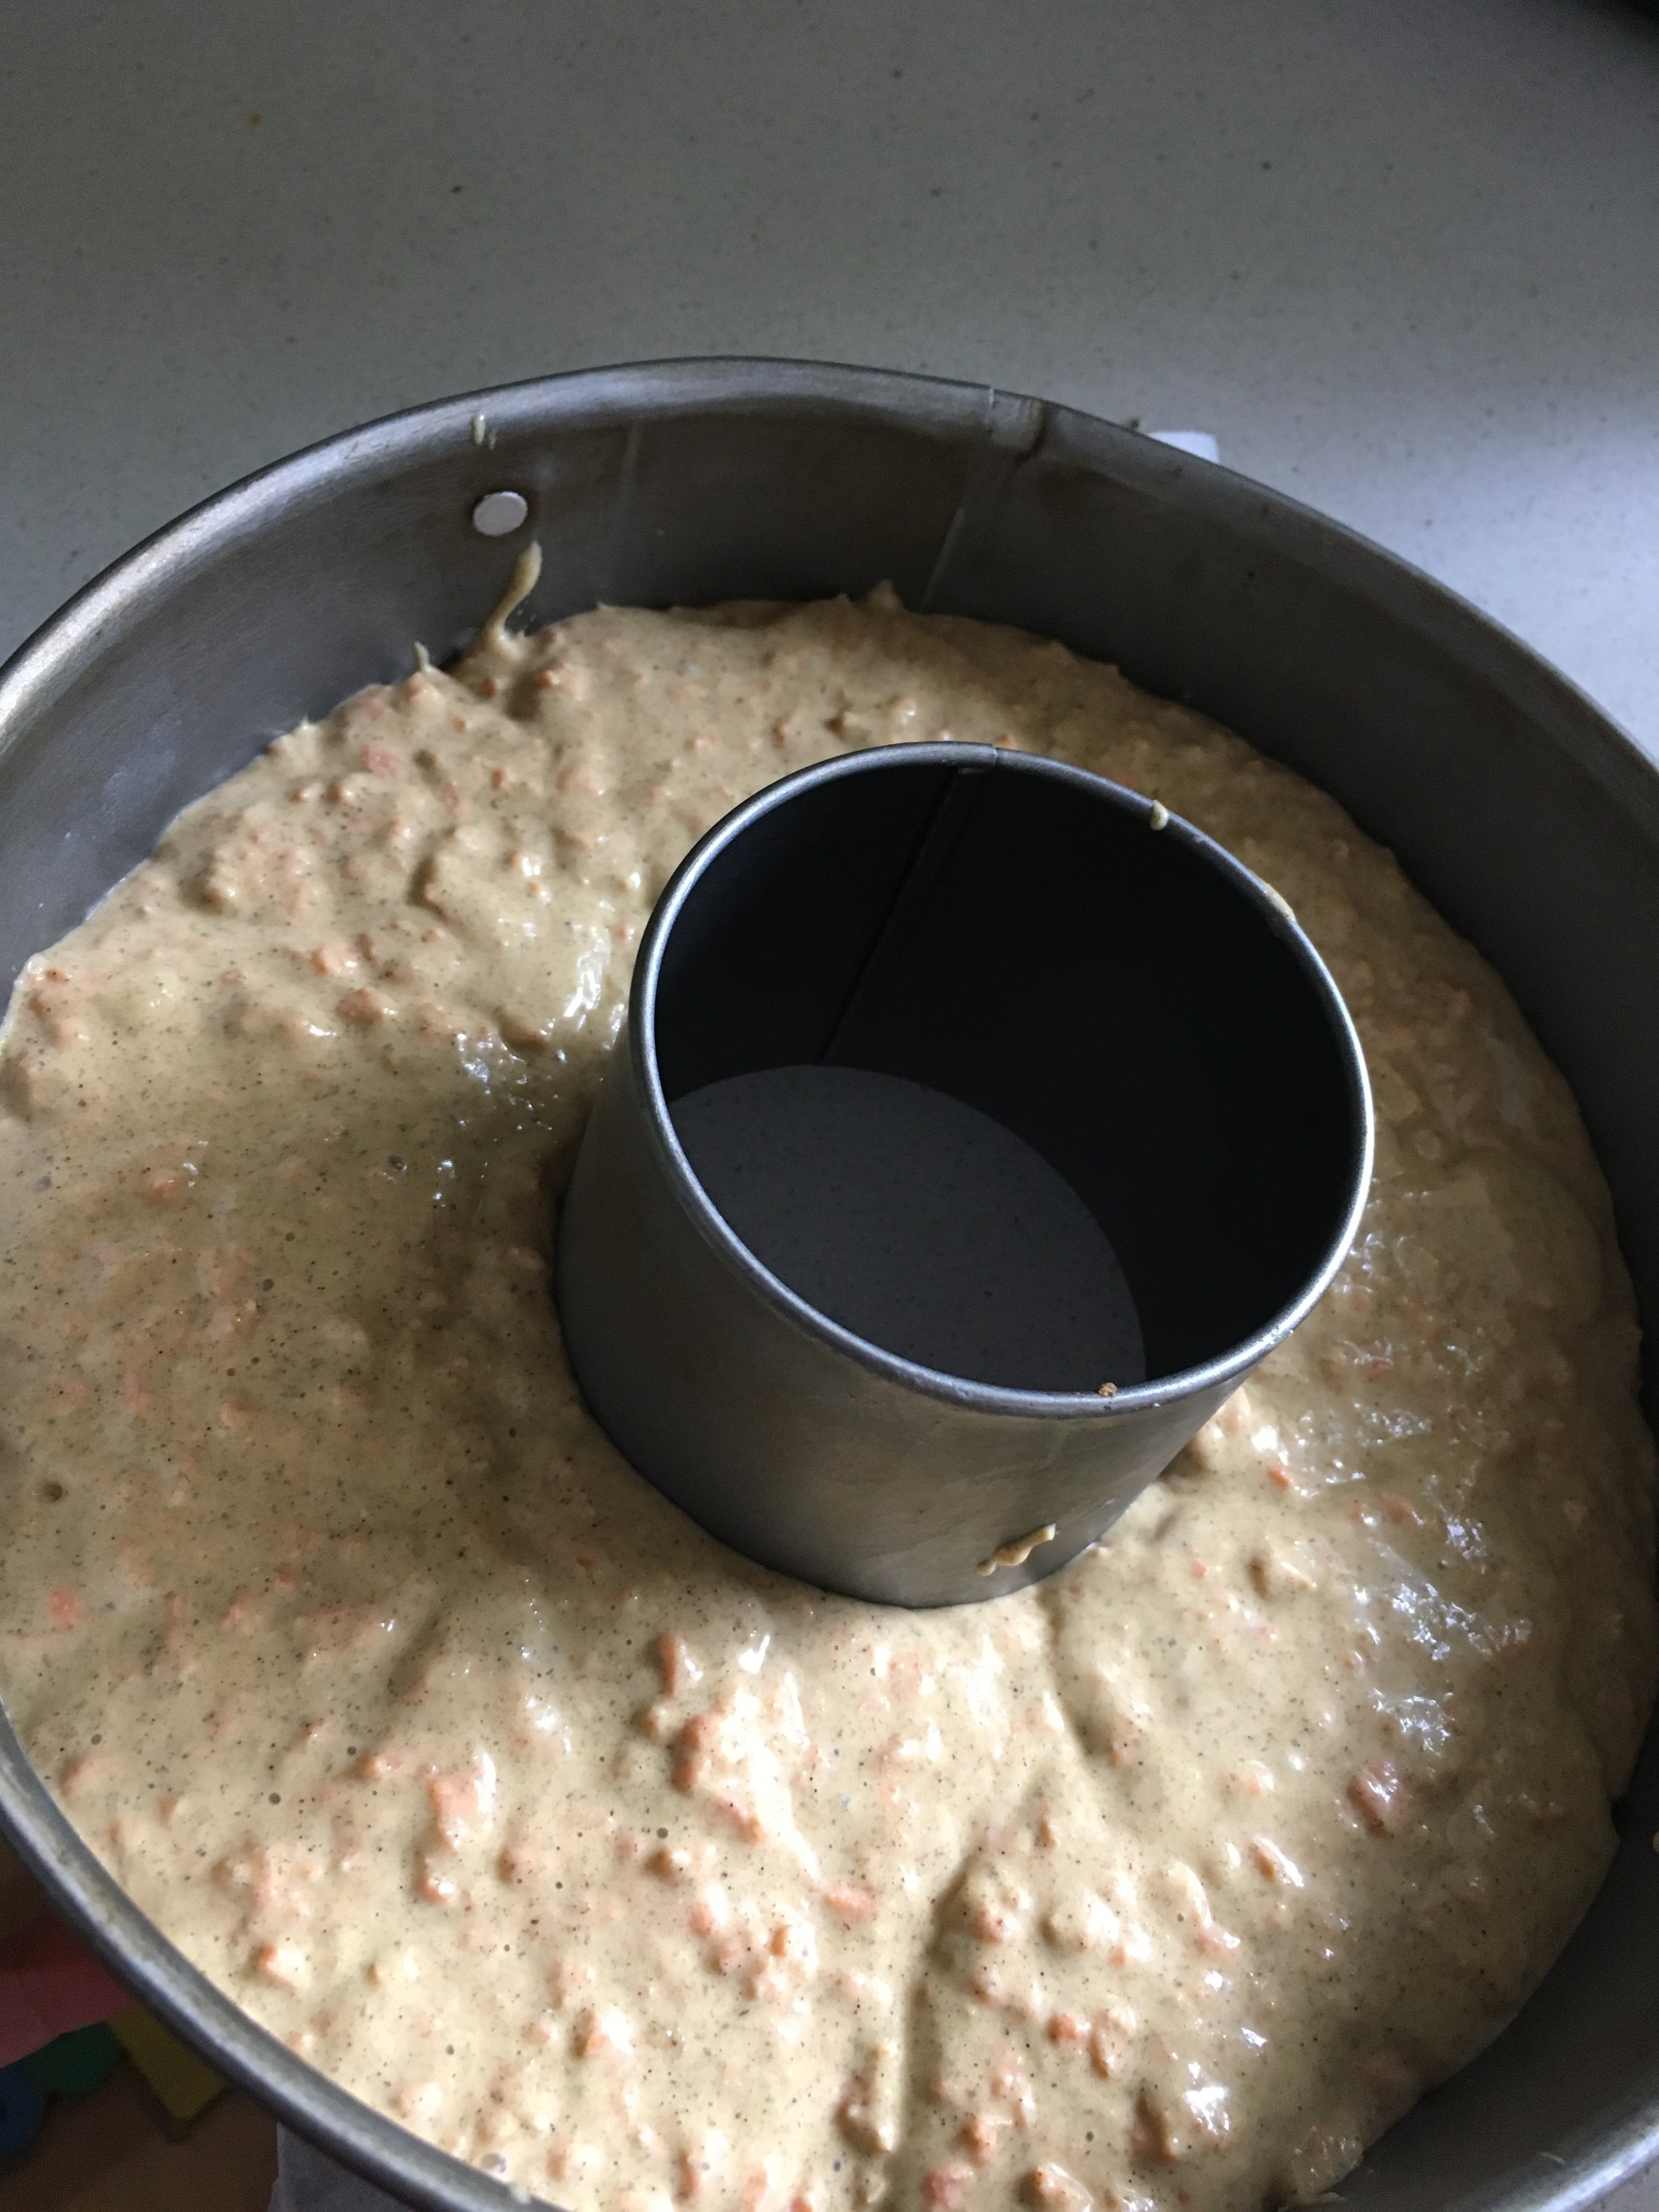
Preheat oven to 180degrees C. Grease a ring shaped cake tin. 
Place eggs, oil, vanilla and maple syrup into a mixer and beat until creamy.  Add all dry ingredients together and beat until combined.  Fold in carrot and pour into prepared ring tin.  Bake for 40-45 minutes.

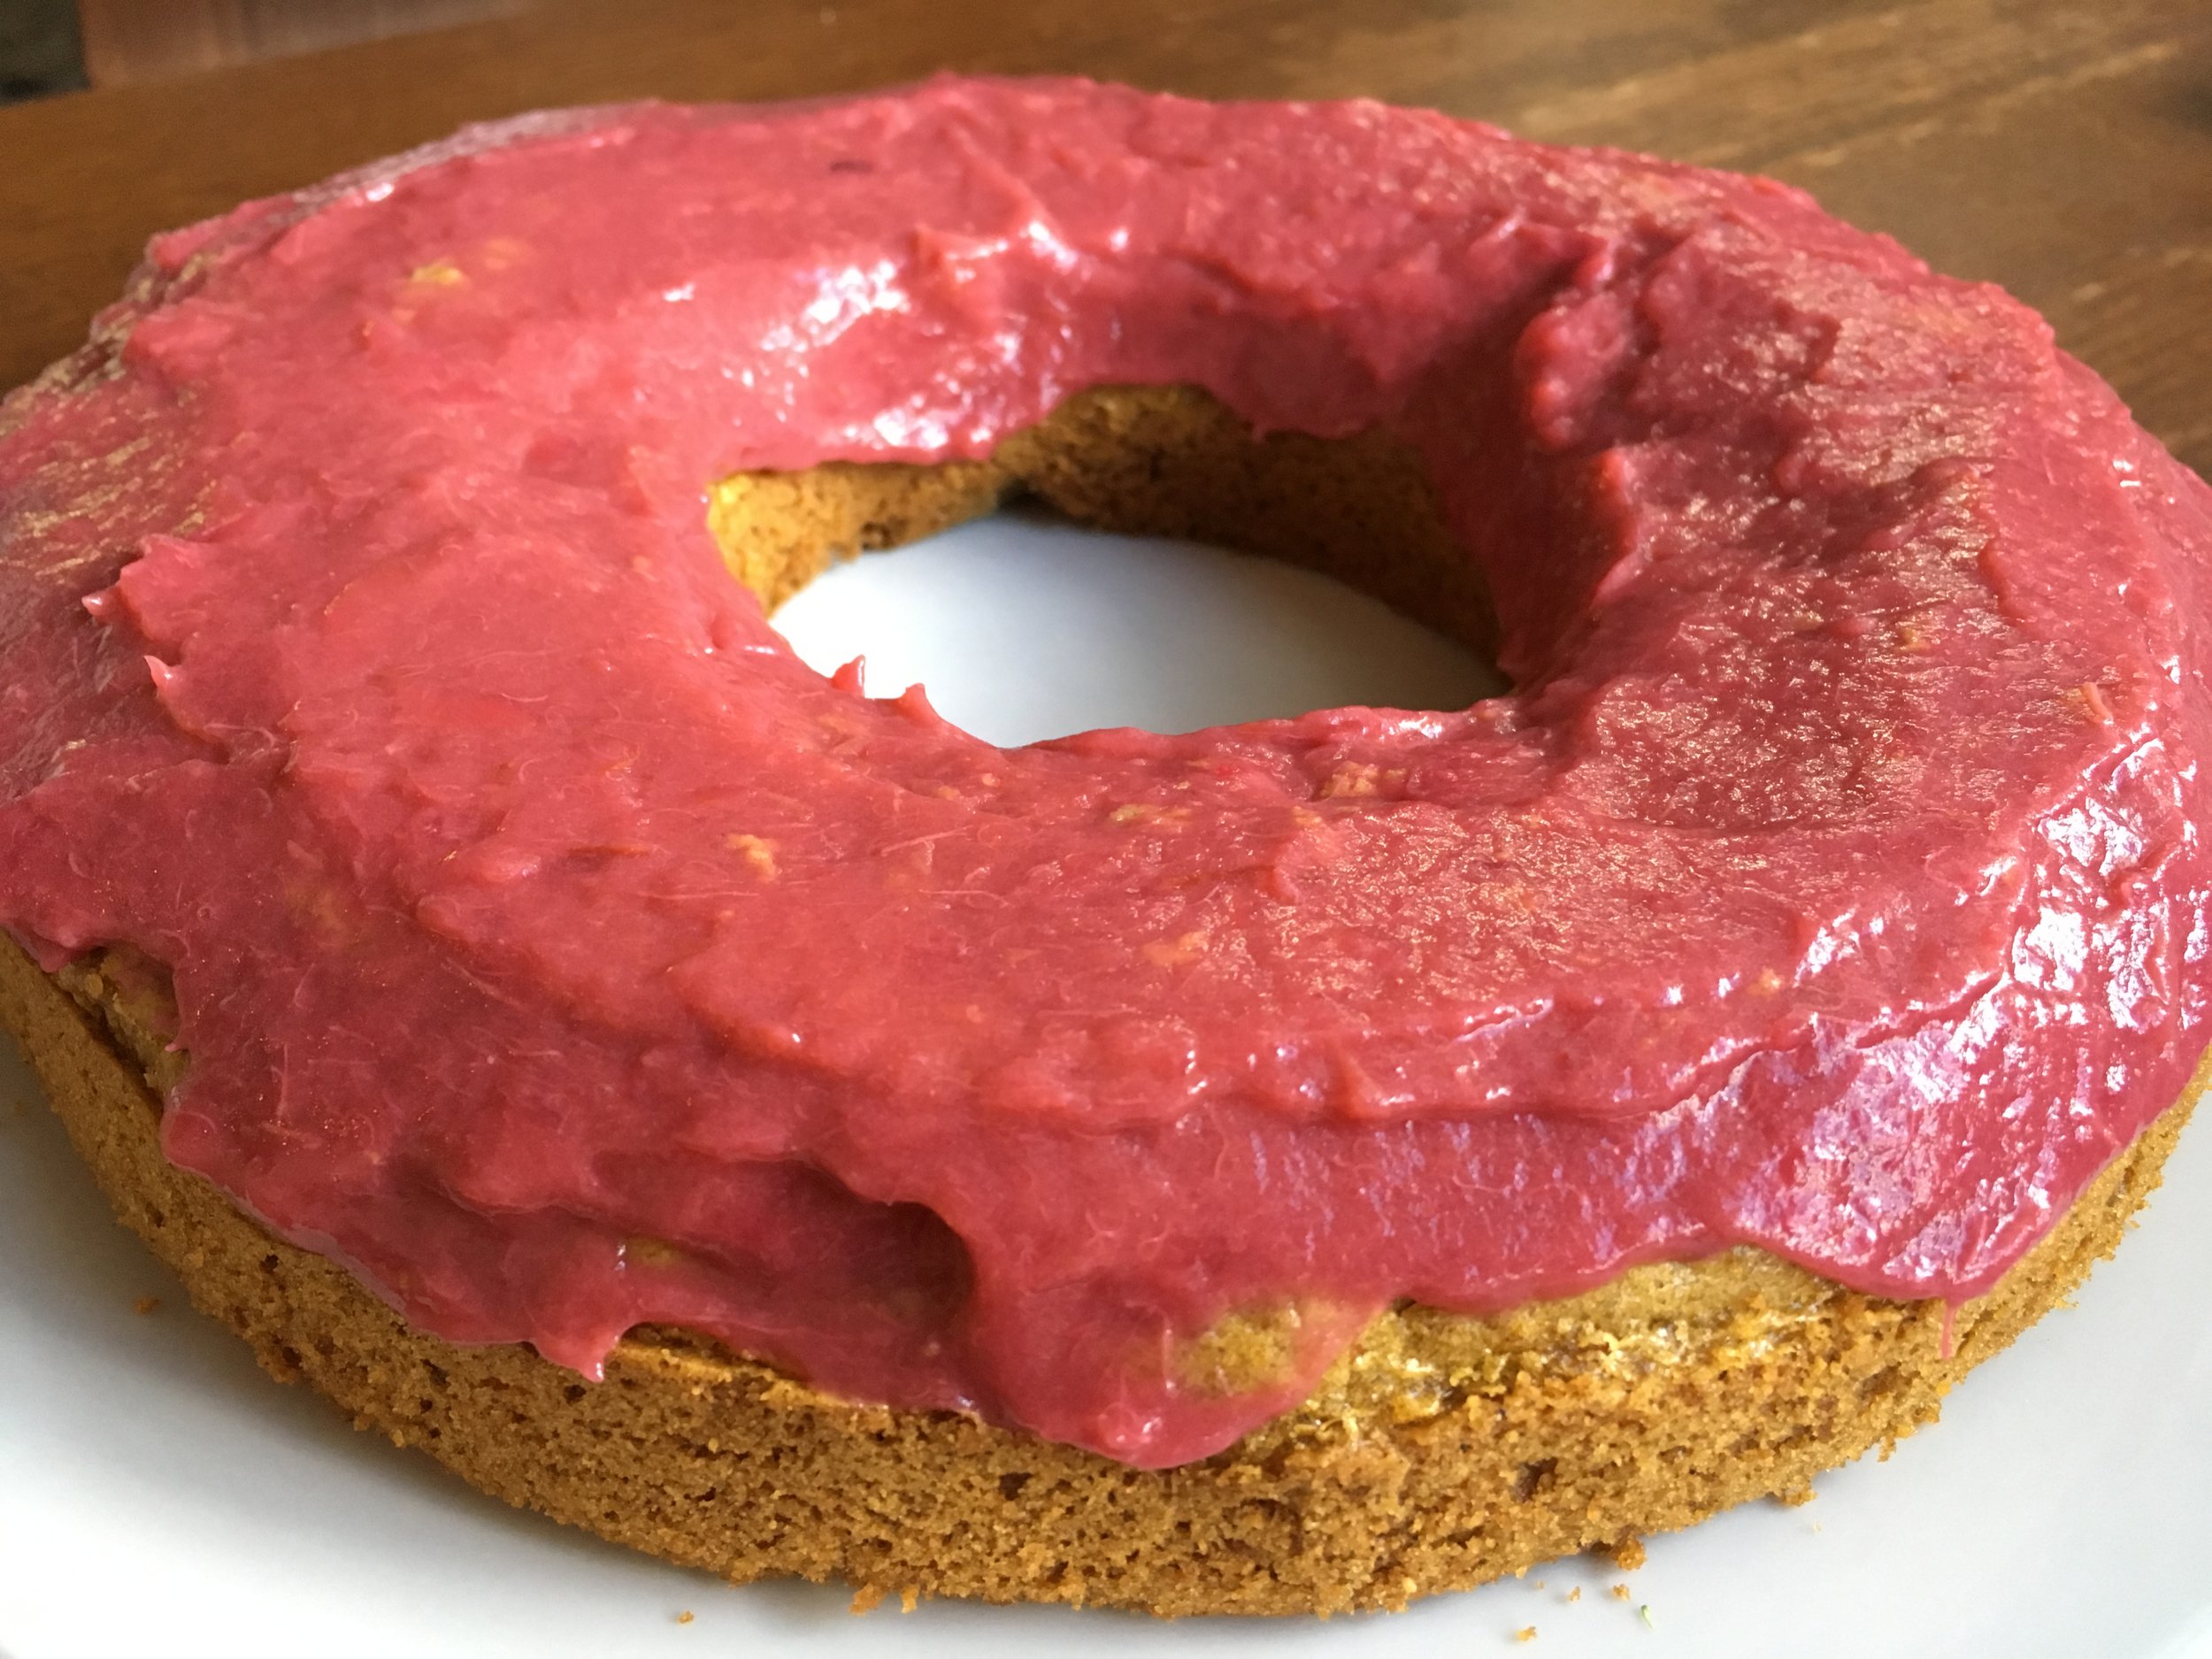
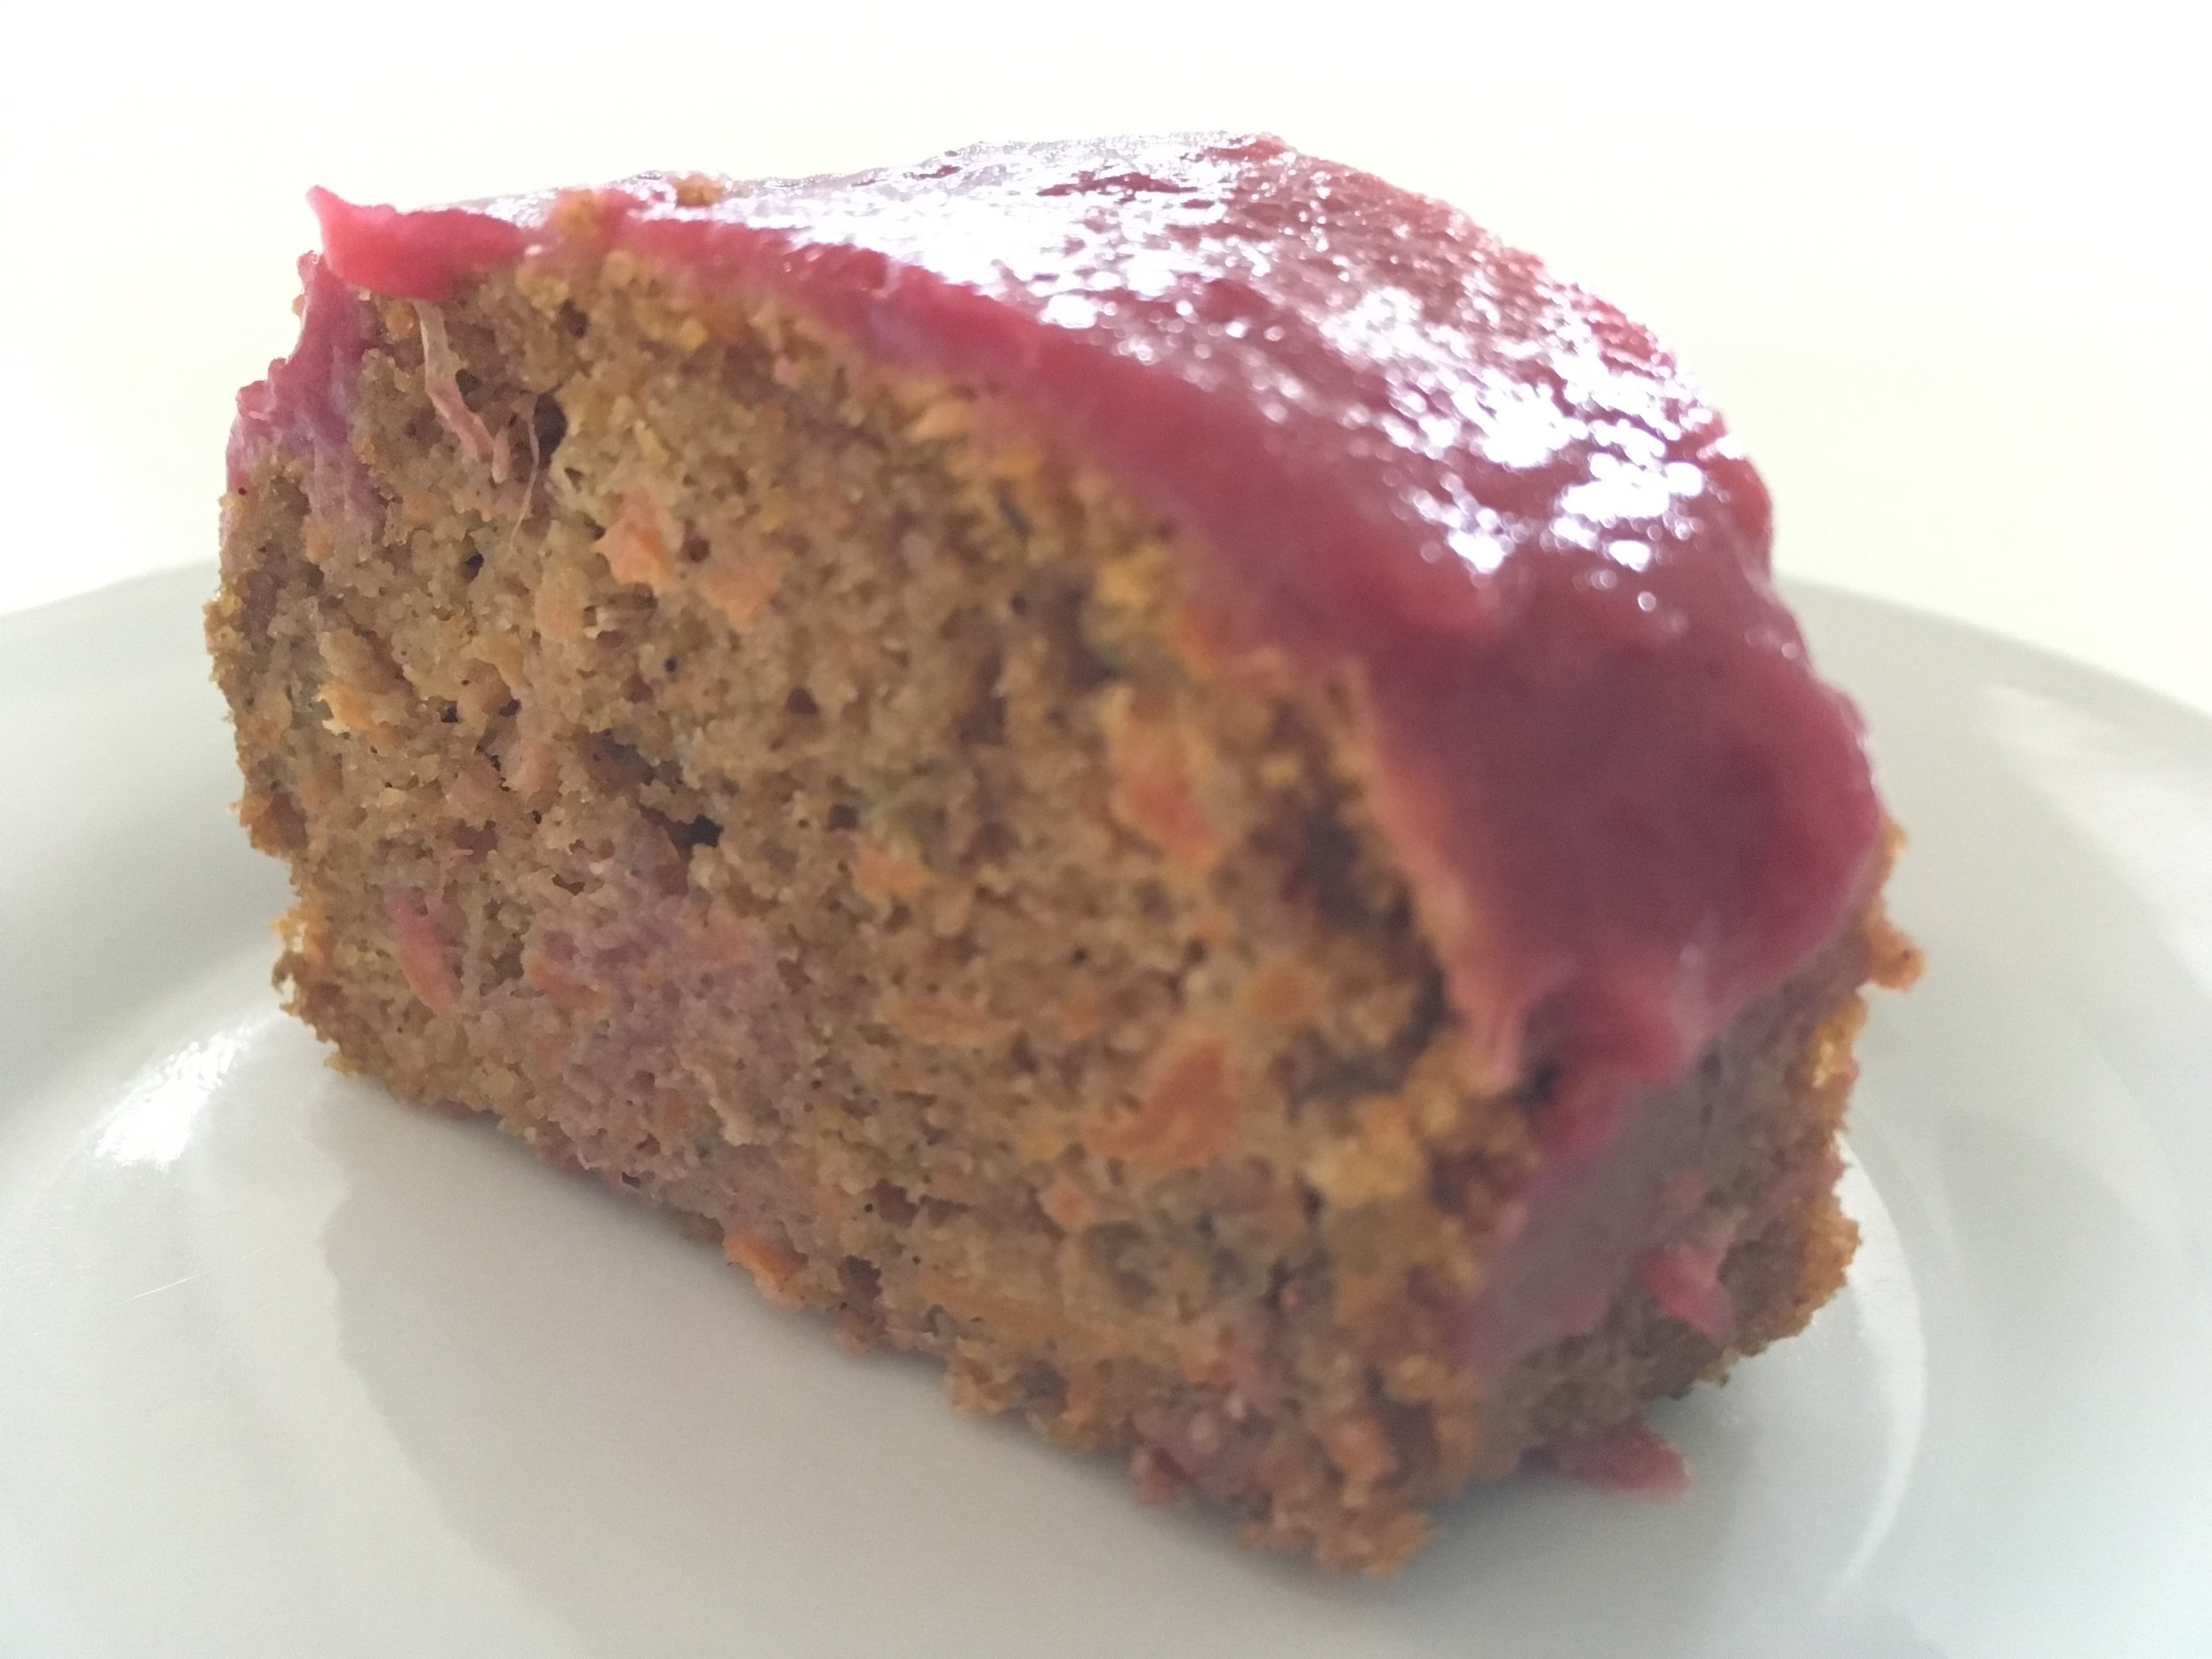
I topped mine with apple and rhubarb puree for that little bit of zing, which made it look a bit like a big donut!  Stores well in the fridge for a few days .


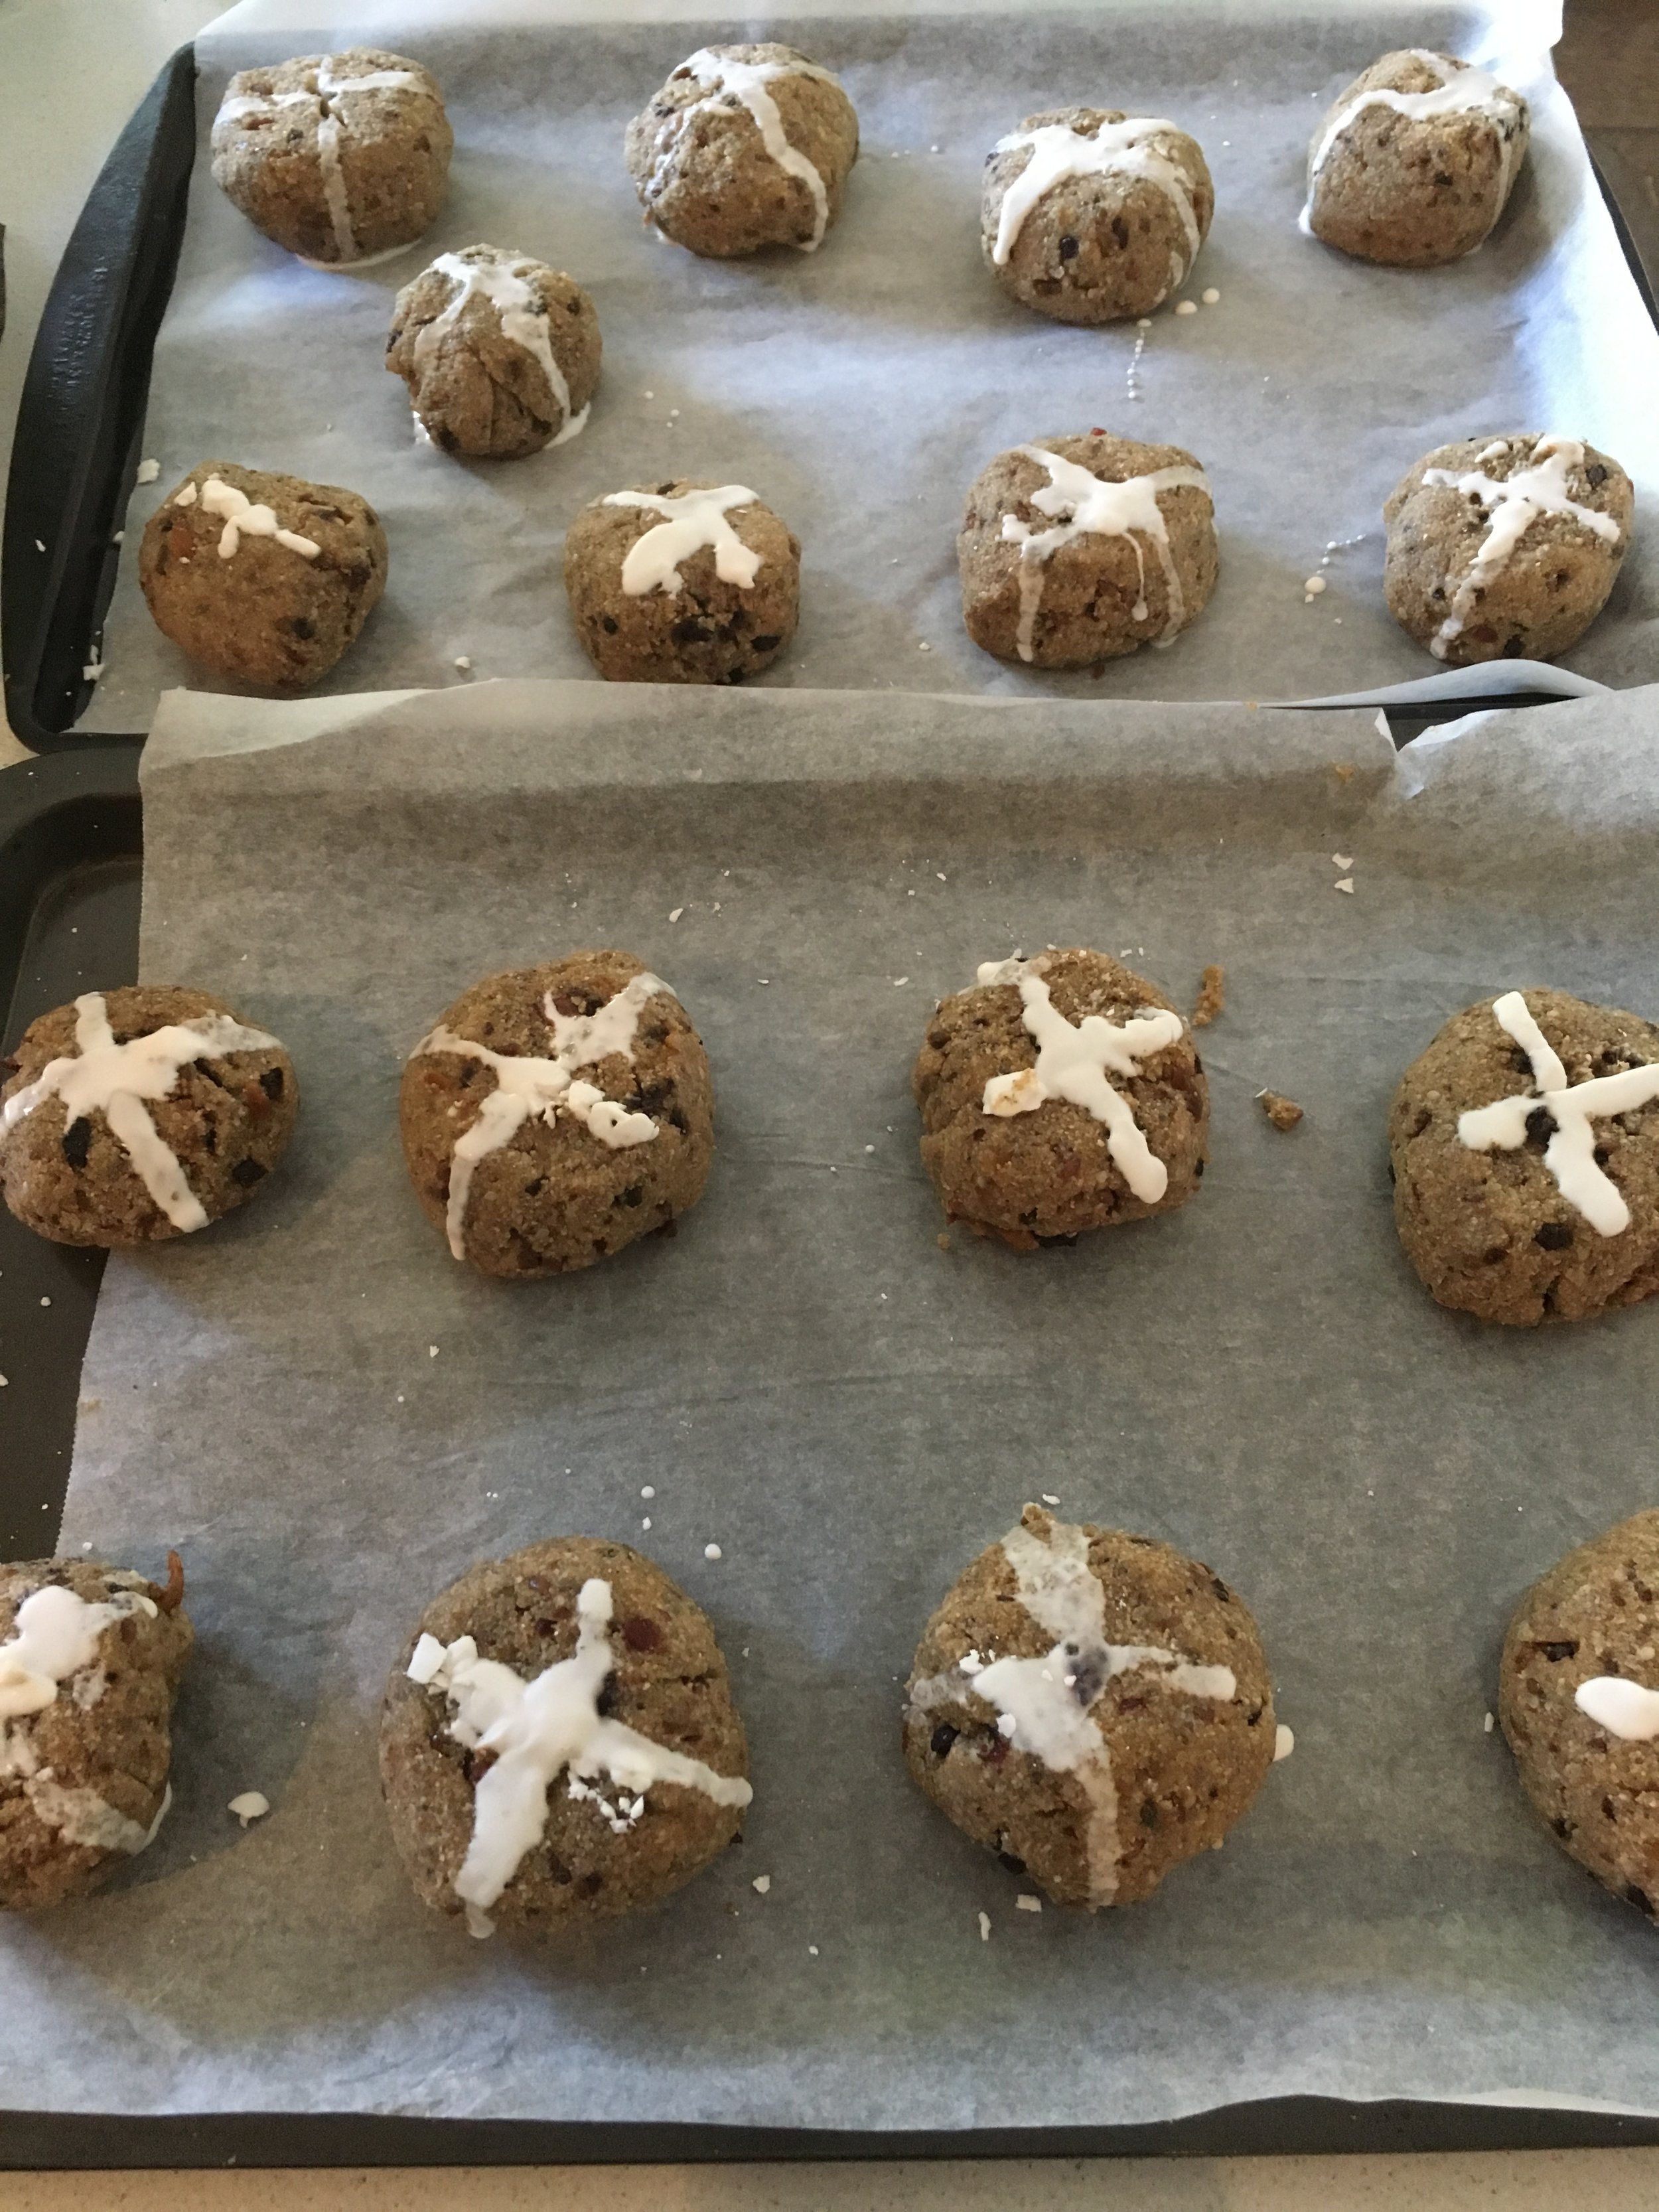
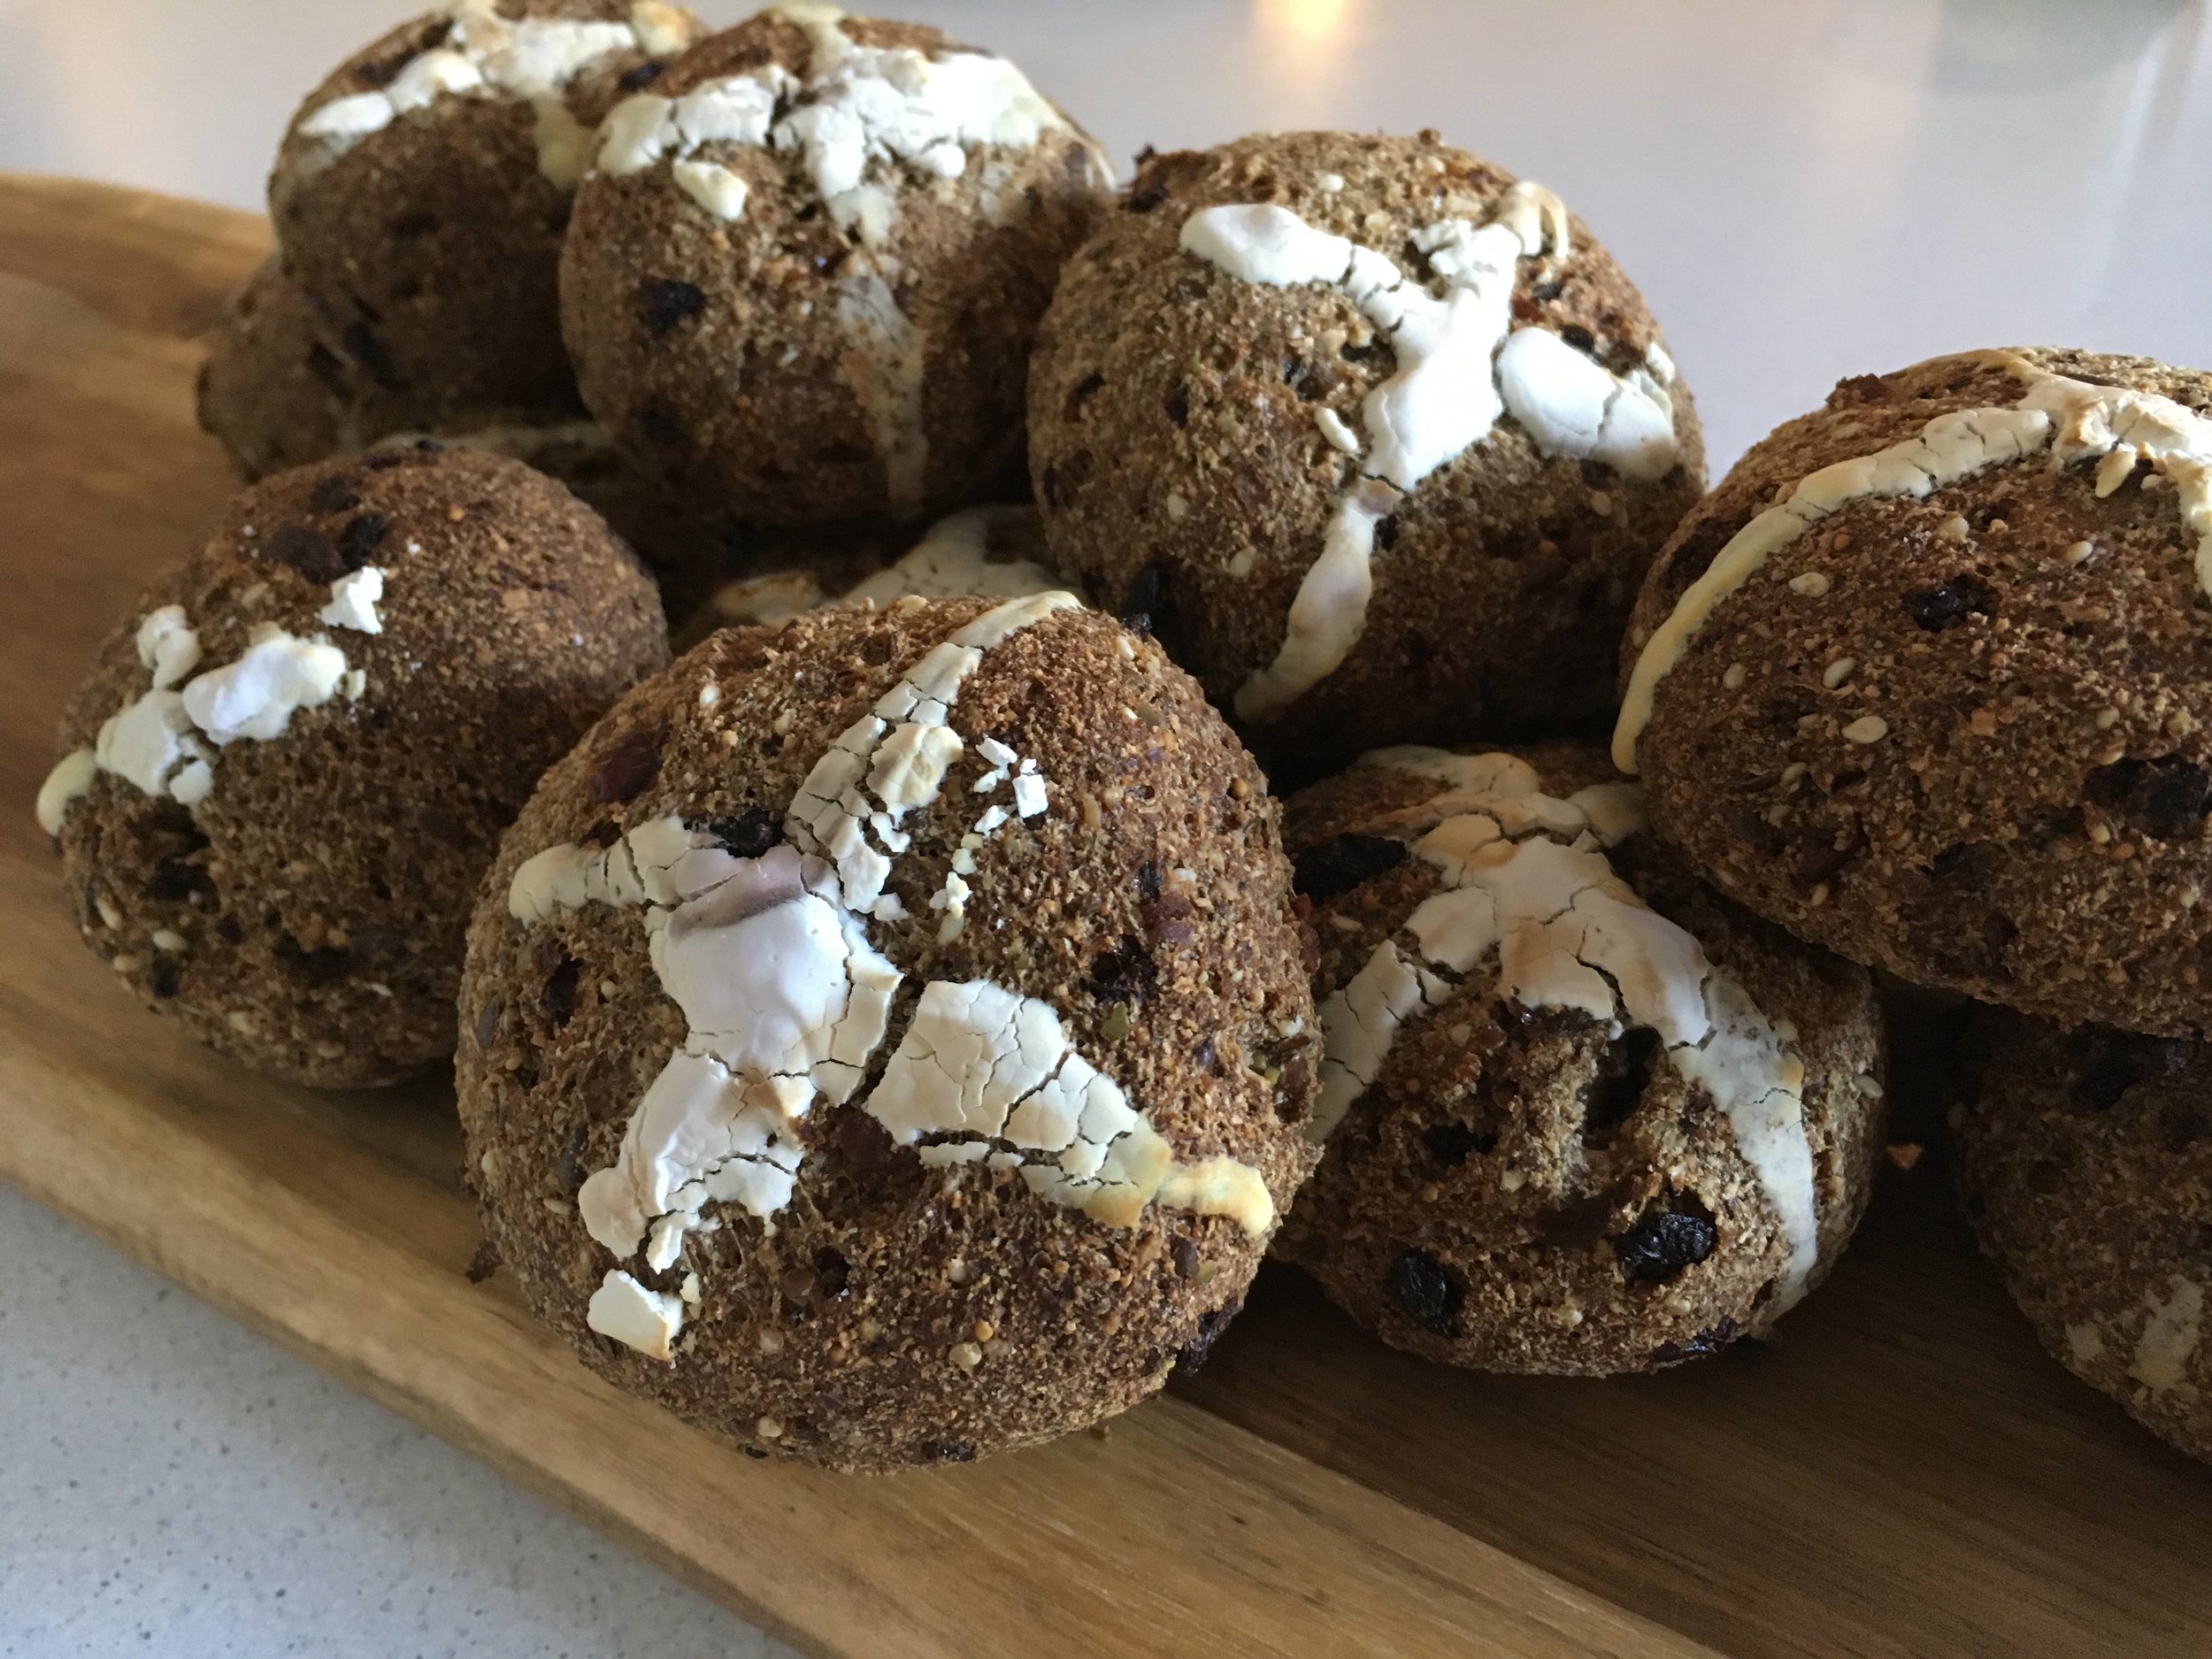
Hot Cross Buns (nut & grain free)

Easter is just around the corner and Easter buns have been on the store shelves for weeks.  So, it's about time to join in the fun and bake some for my ever asking family.  This year I thought I'd  just adapt the bread recipe I use and well, it worked!  Delicious hot out of the oven with lots of melted coconut oil or ghee as my kids prefer.  Again, this recipe needs a food processor, preferably high speed, but I imagine a regular processor would work too, the buns might just be a little more textured.

Ingredients:
60g psyllium powder
80g Coconut flour
25g Chia seeds
25g Linseeds
25g Sesame seeds
50g Pepita seeds
40g Coconut sugar
1 tsp Bi-carb soda
1 tsp Cream tartar
2 tsp Cinnamon powder
2 tsp Mix spice
1/2 tsp Ginger powder
1/2 tsp clove powder
3 eggs
380ml water
2 Tbs coconut oil
1 tsp vanilla essence
100g mix dry fruit (I used 50g sultanas + 50g dry fig)

For the cross: tapioca flour and water

Method:

Preheat oven to 180degree Celcius.

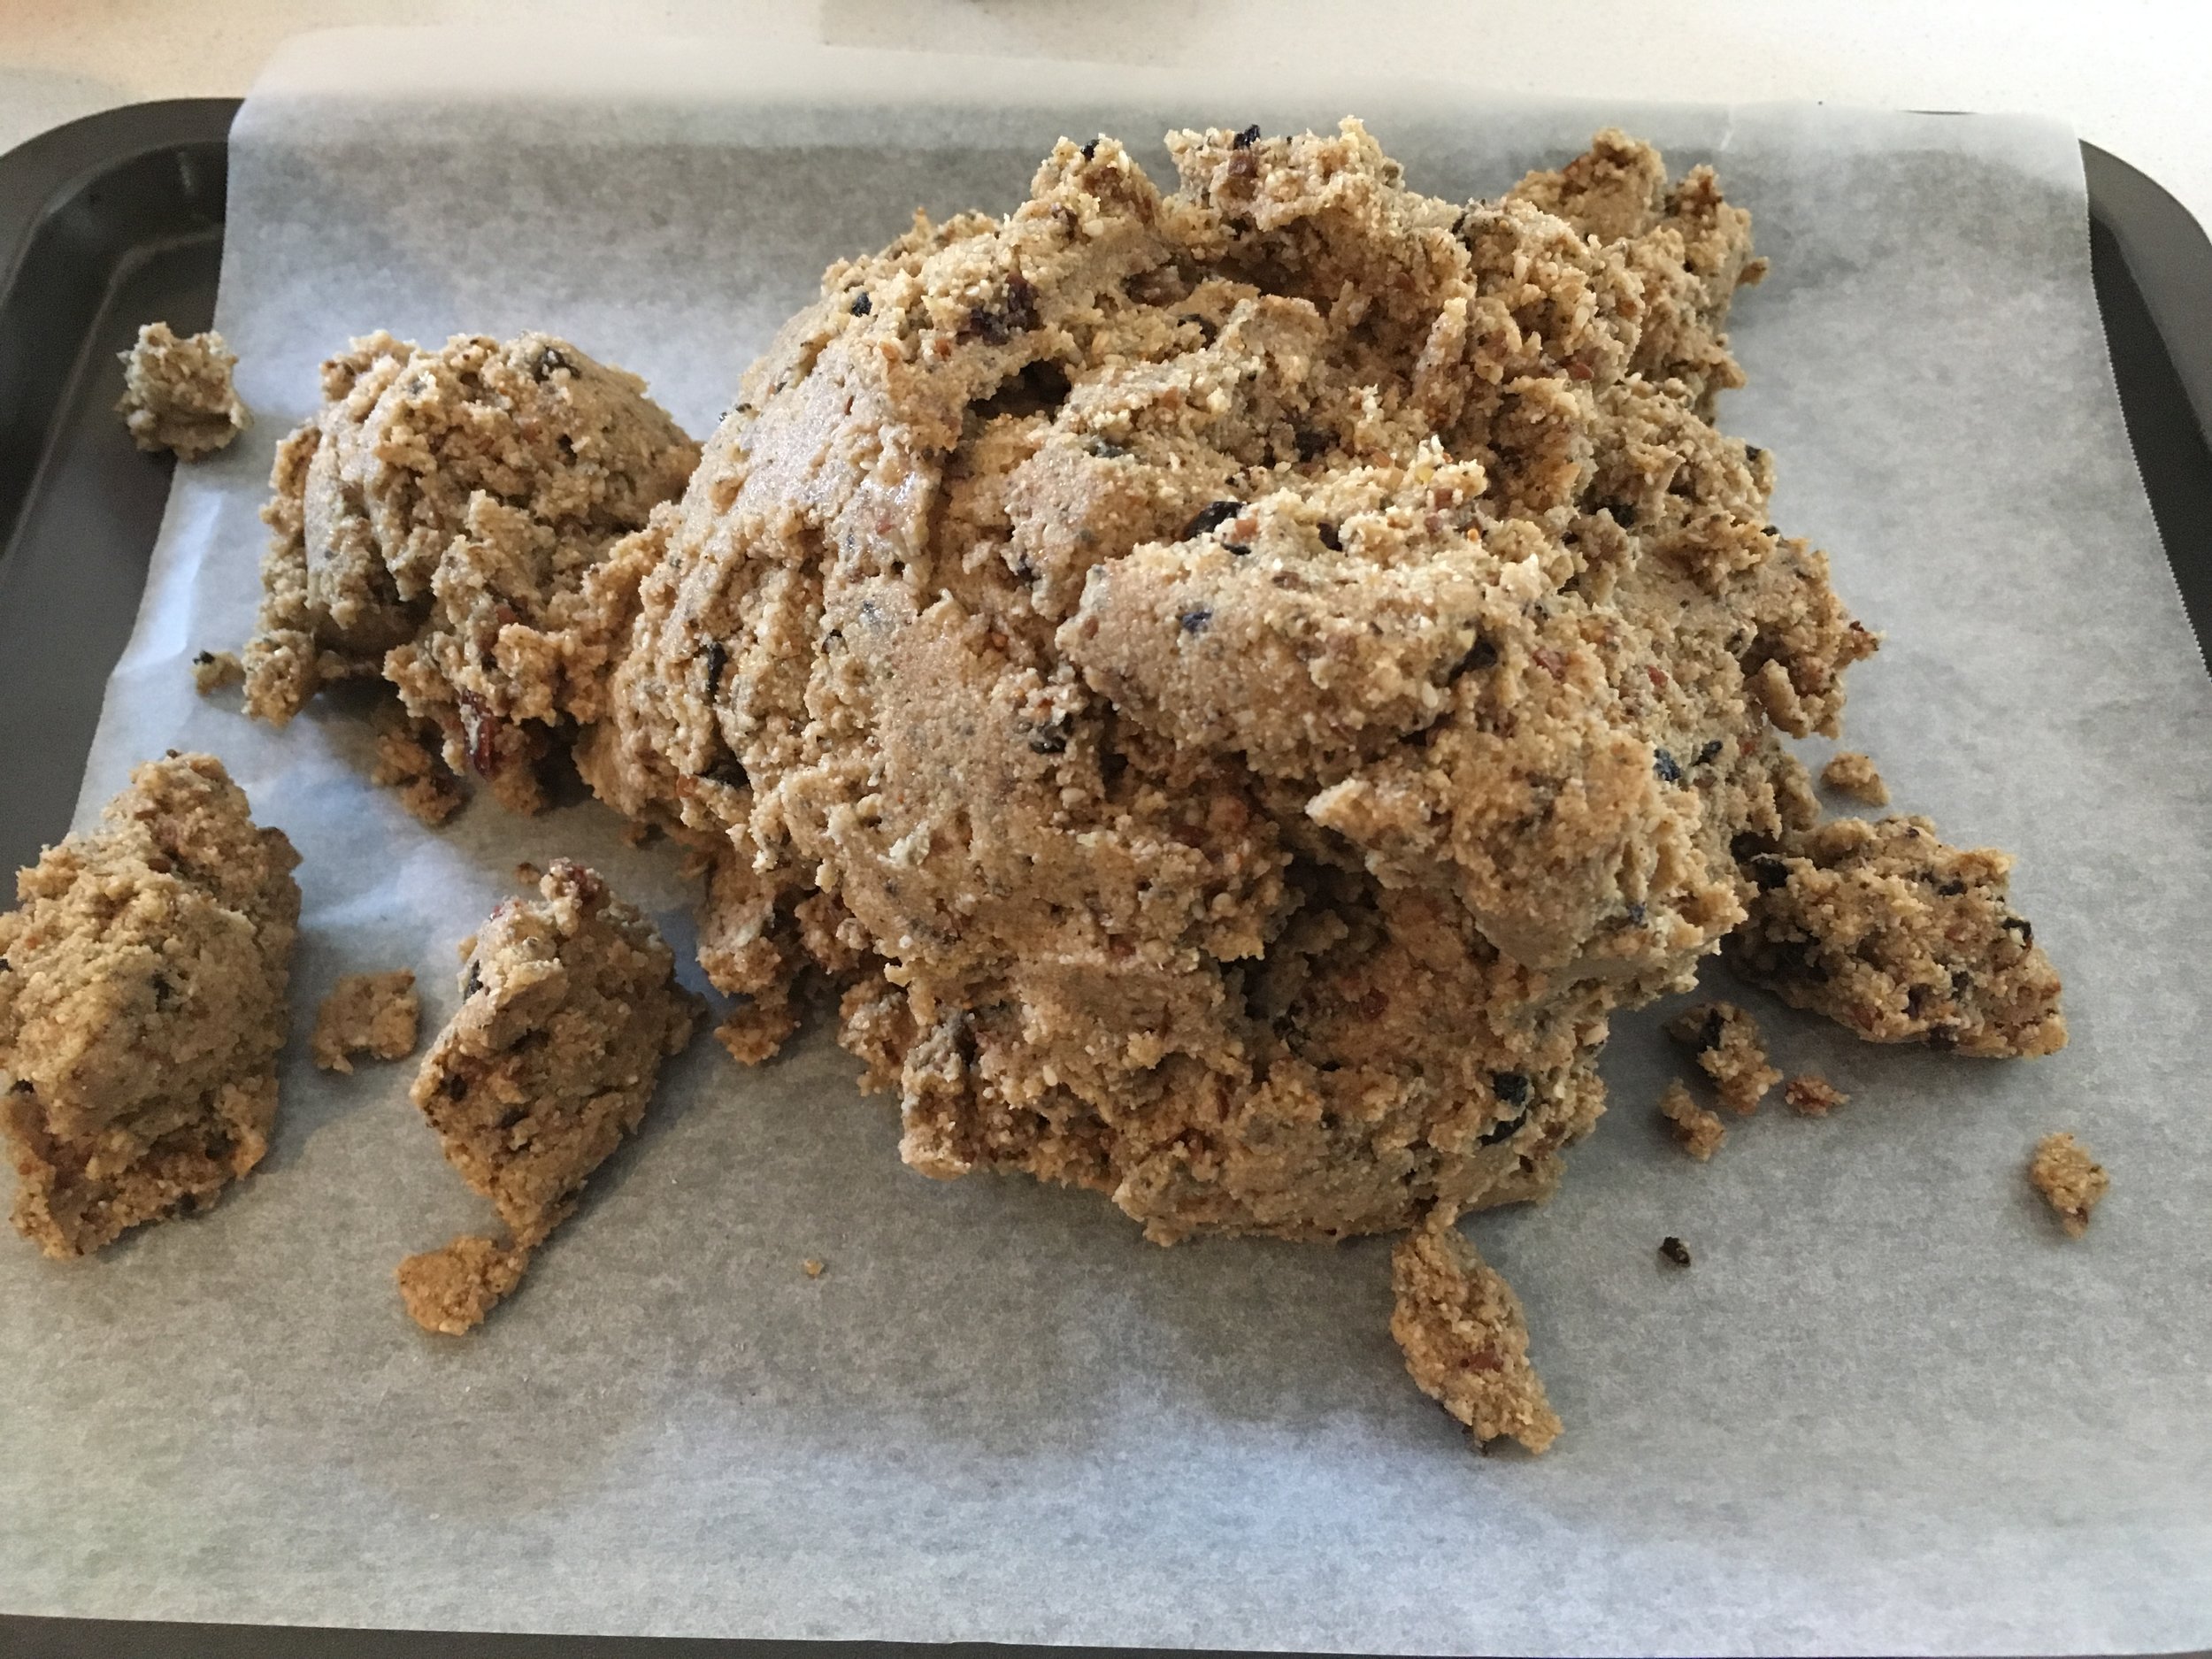
Combine all dry ingredients except dry fruit in food processor.  Blend until it becomes a rough flour like texture (may take a few minutes in regular processor. For the high speed processor, do about 3/4 speed for about 45 seconds to 1 minute).  Once appropriate texture is achieved, add eggs, coconut oil and water and blend quickly until it's all come together.  Then add dry fruit and blend again to combine fruit.

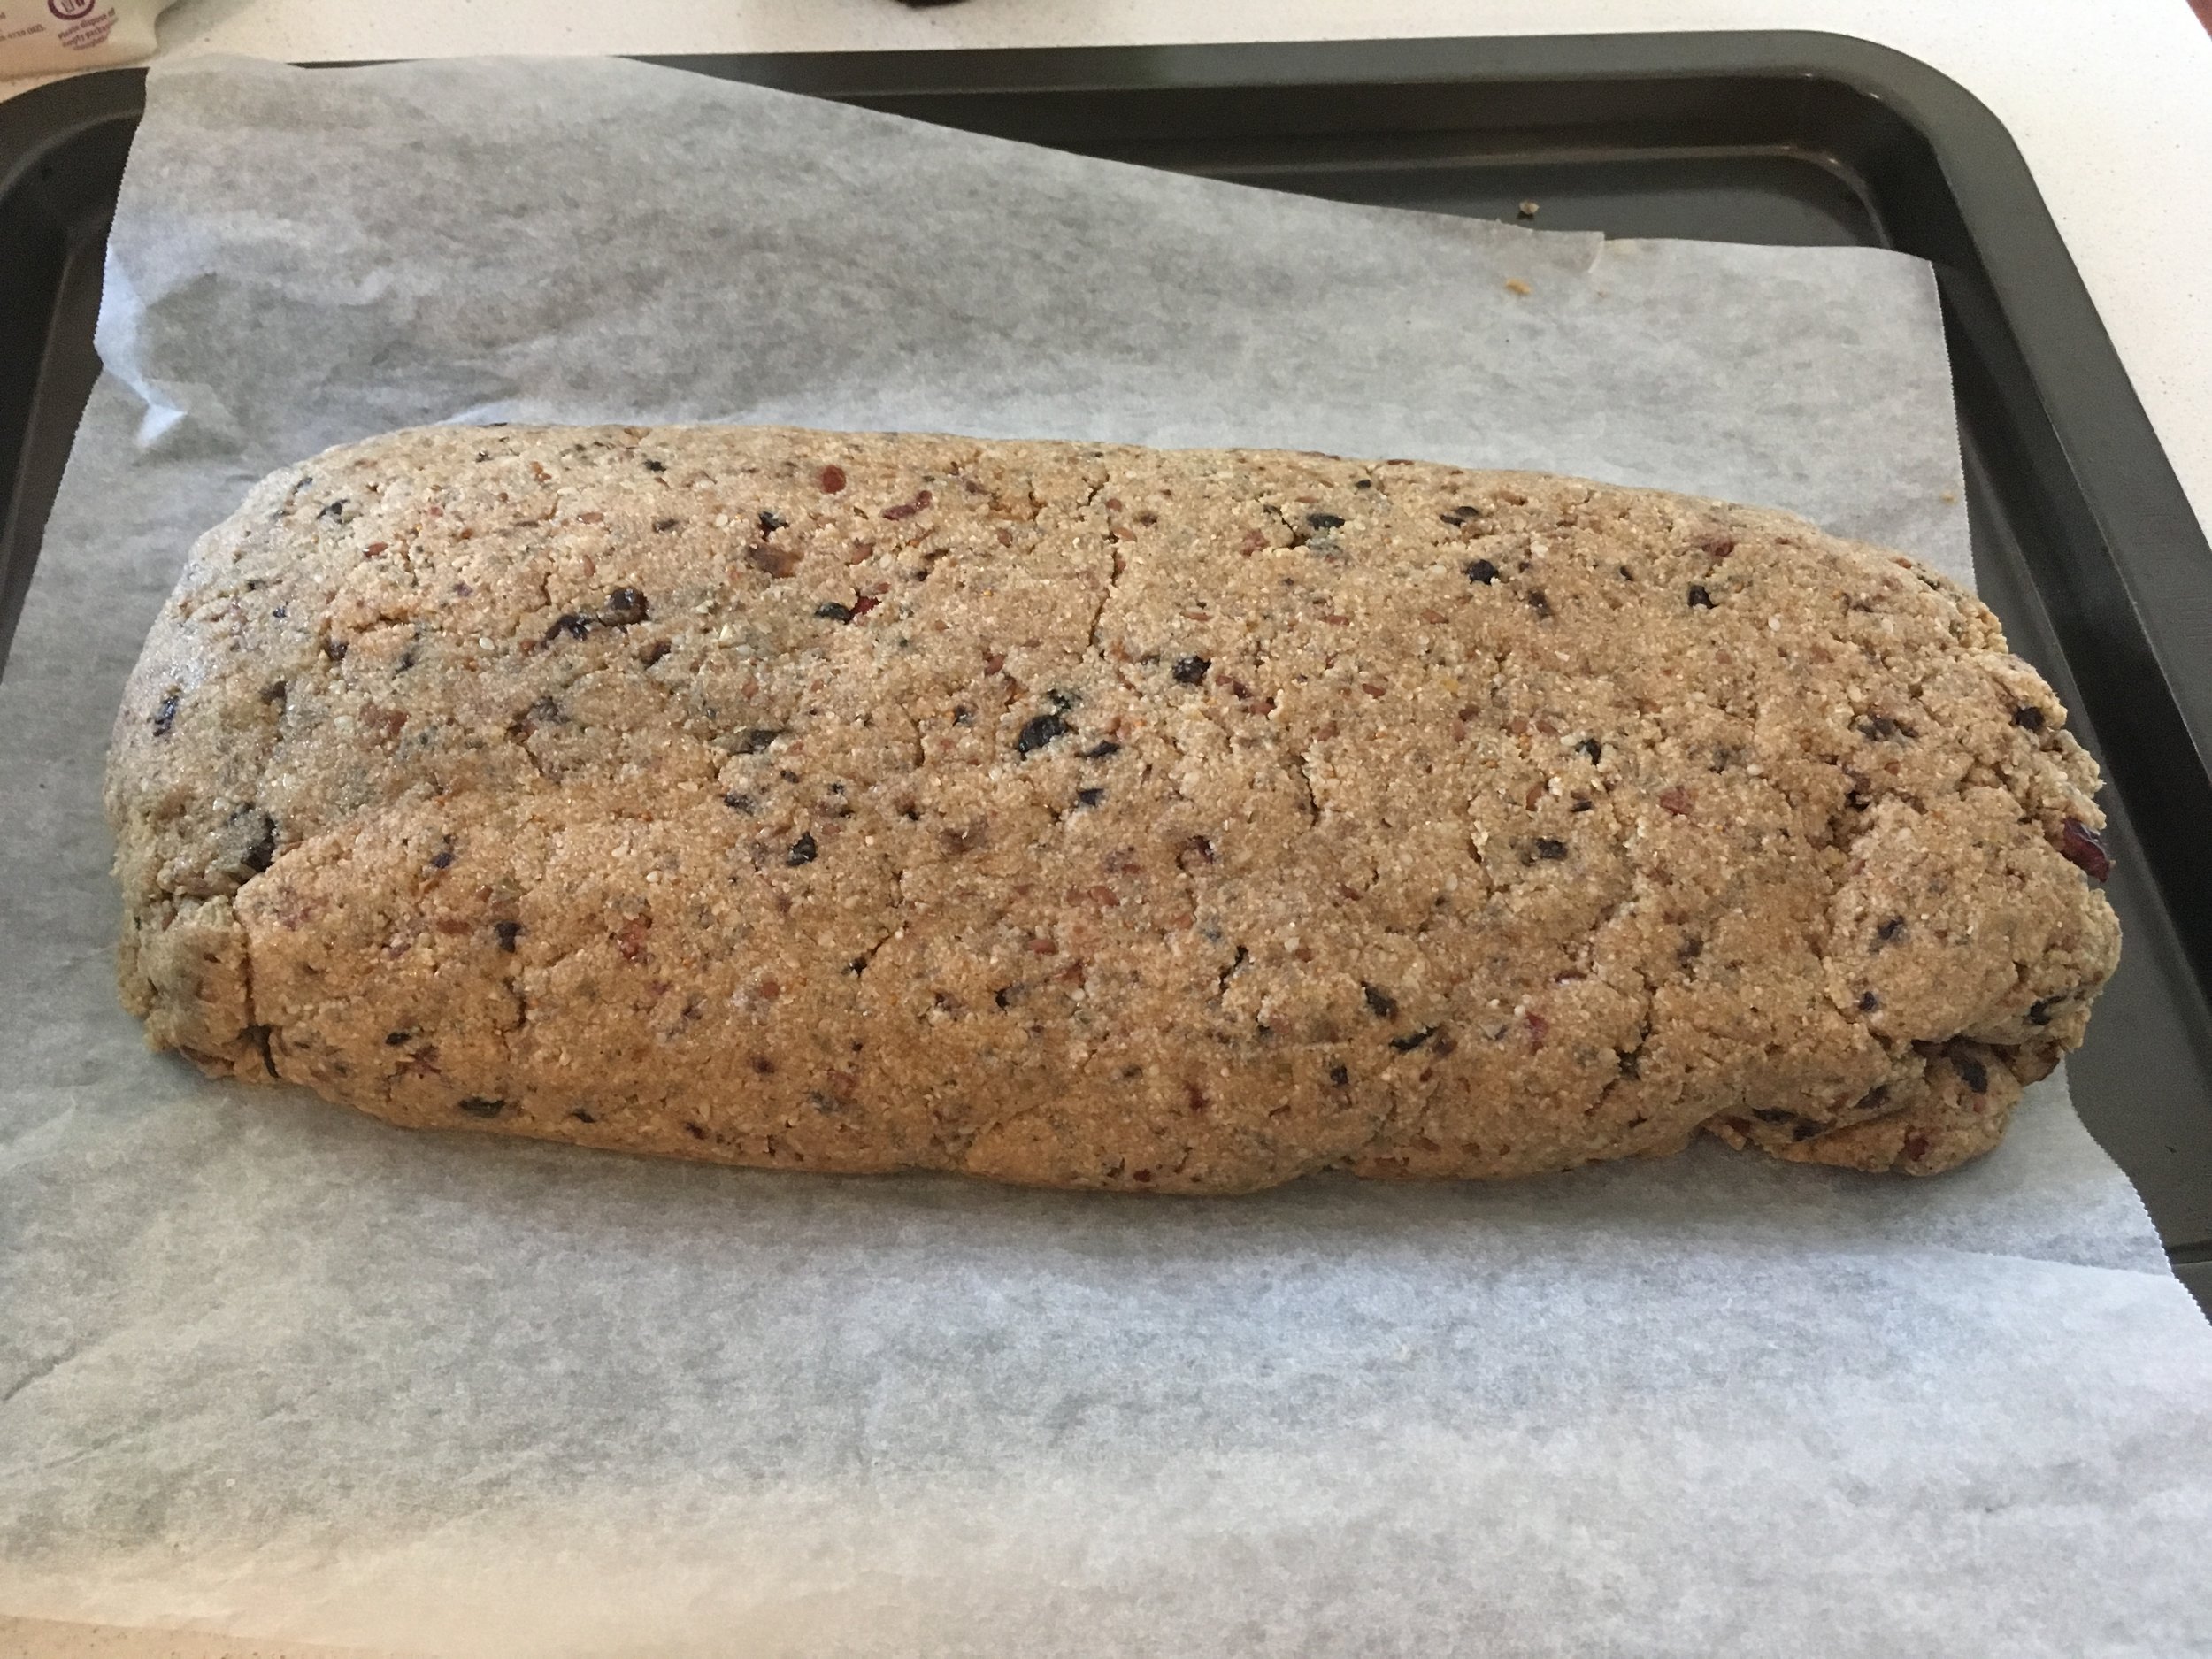
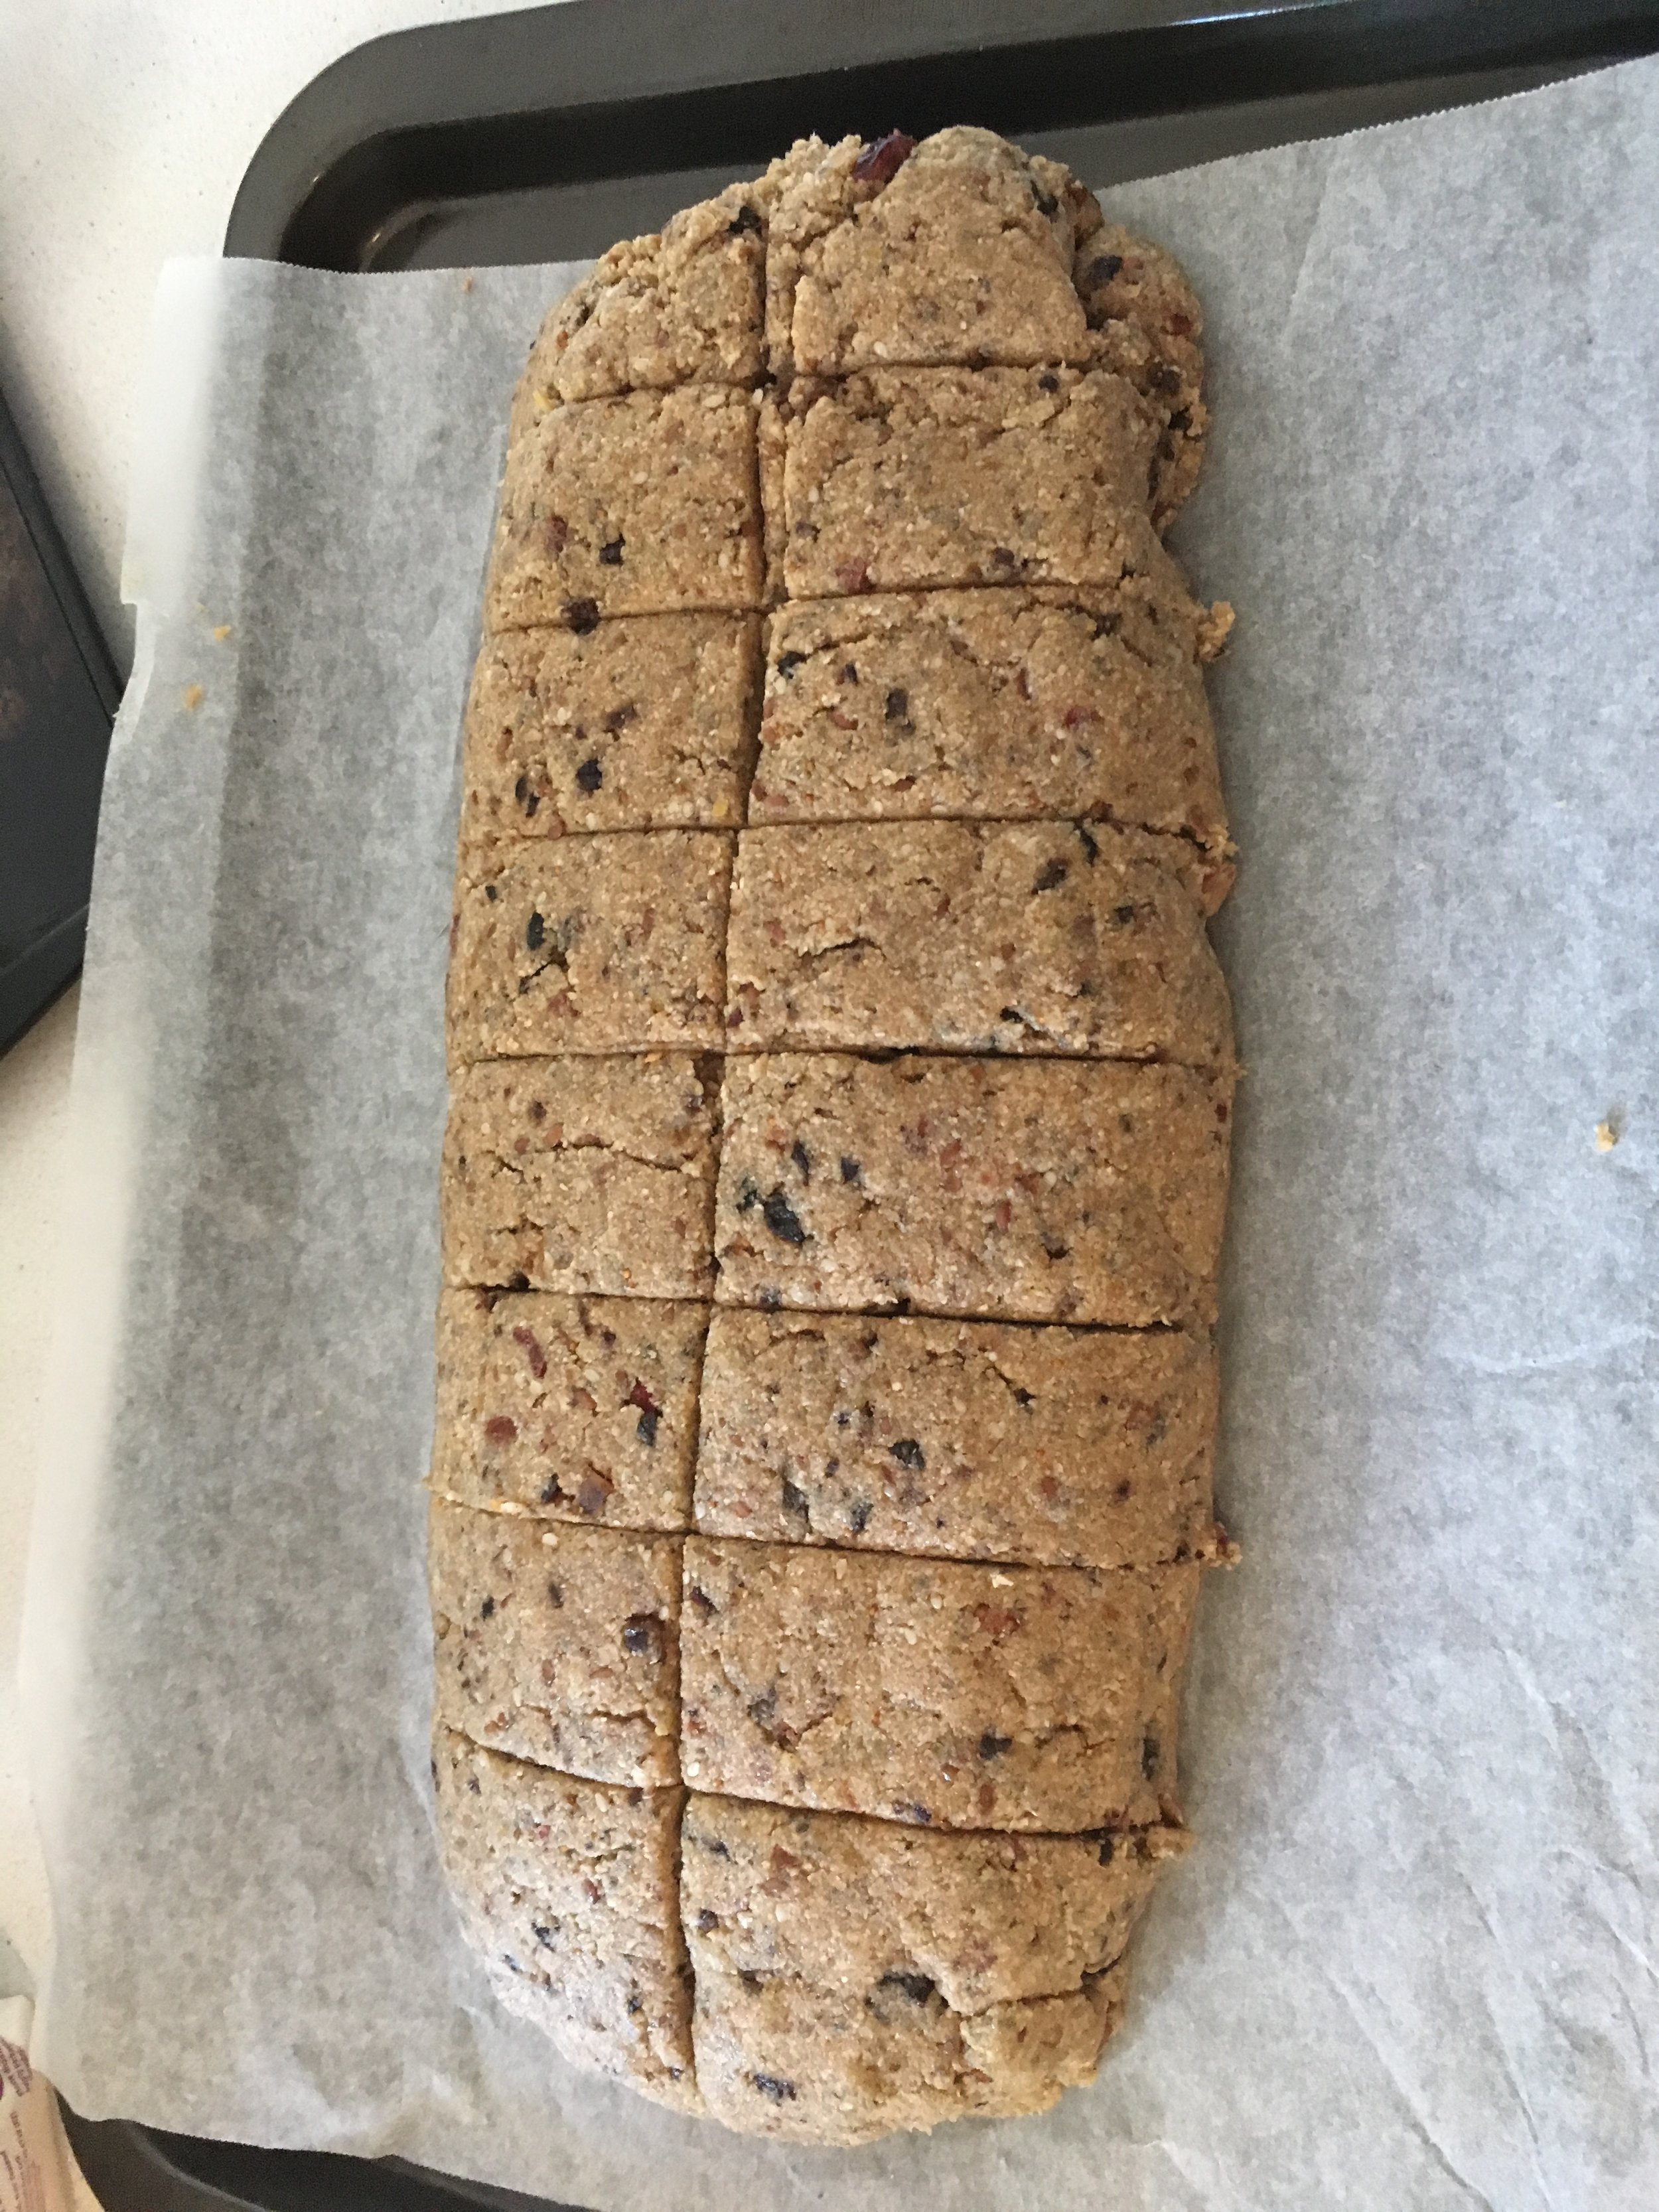
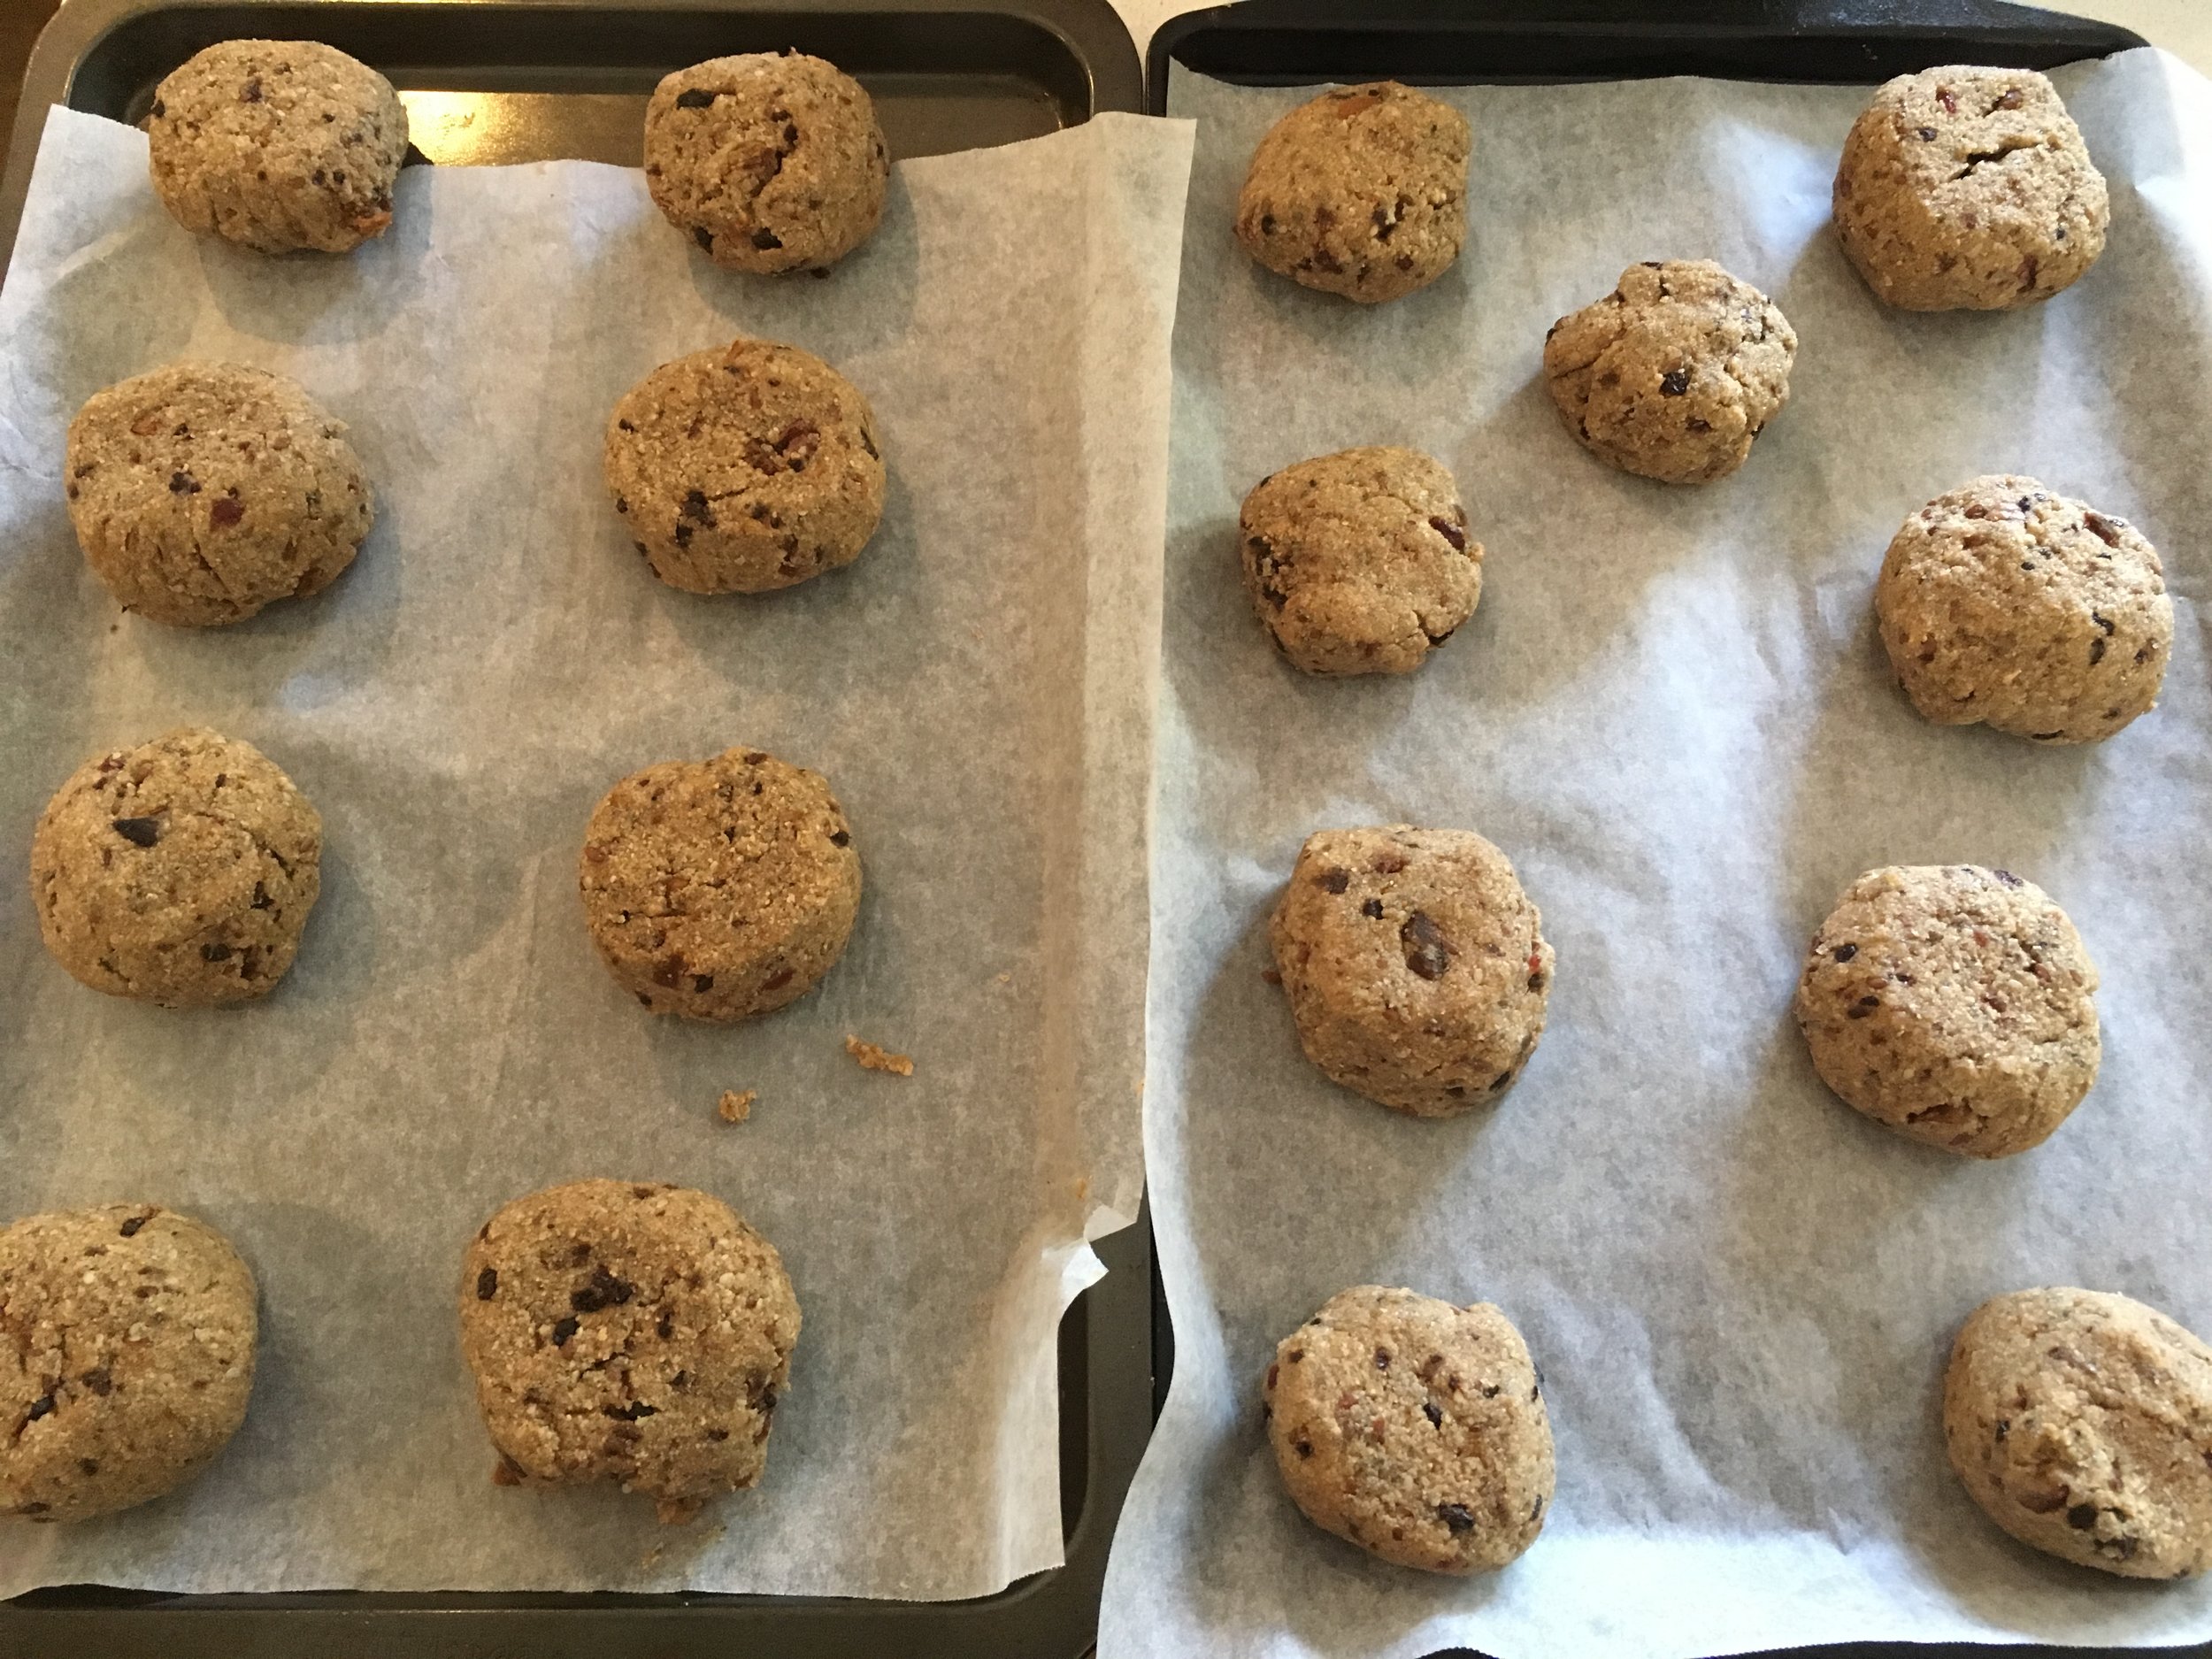
Turn onto a sheet of baking paper.  Using the paper to help, shape in to a log.  Cut each individual bun from the log and place on baking tray also liked with baking paper.  

Cross - at this stage if you want to do crosses:  In a small bowl, combine 2 Tbs tapioca flour with 1 tsp water.  This is difficult and sticky.  I used my hands and also poured the mixture onto each bun in a cross shape.  It's very tricky to get the shape but I kind of got it to work.  Remember, these are only decorative, so not necessary if you can't be bothered!

Bake in preheated oven for approximately 45 mins to 1 hour, then allow to cool a little on the cooling rack.

Stuffed zucchini

We've had an abundance of Lebanese zucchini in the veggie patch lately, so I've been trying to use them in as many ways as possible.  One of our favourites is what my kids refer to as "Poppy's zucchini dish".  It's a recipe that their Poppy introduced me to, which of course I have modified and has become a staple in our house.  Full of protein, fibre and nutrients, it surely is a good way to use those zucchini up!

lebanese_zucchini_1.jpg

Ingredients:
8 Lebanese zucchini
1/2 cup quinoa
200g mince lamb (or beef)
1 onion
2 carrots (peeled)
1 rib celery (chopped)
Stem from a broccoli
Stem from a cauliflower
1 tsp mixed spice
1/2 tsp cinnamon
1/2 tsp oregano
3 cloves garlic (crushed)
700g passata sauce
Olive oil

Method:
Hollow out zucchini with a knife or a zucchini corer (this is the hardest part).  Reserve the inner part of the zucchini that you have removed.  

Dice the onion and sautée in olive oil until translucent, add 1/2 tsp of mixed spice and 1/4 tsp cinnamon.  Turn off heat.

Rinse the quinoa under filtered water and add it to the warm onion along with the mince meat and 1 clove of crushed garlic.  Mix and then stuff inside your hollowed zucchini (you will need to use your hands here to poke the mixture inside).  Once stuffed, place each zucchini in a baking dish.

In a food processor, add the remaining vegetables, herbs and the insides from the zucchini that you had reserved earlier and pulse until small.  Add passata sauce and pulse again.  Pour this vegetable sauce over the top of the stuffed zucchini and cover with baking paper and foil.  

Bake in oven at 180 degrees celsius for about 1&1/2 - 2 hours or until the zucchini are soft when poked.  Serve with some steamed beans or just eat them as an all in one meal!

Unfortunately I forgot to take a photo of them once they were cooked, but this is the one I was eating for lunch today!


Squeezies

My kids and I often have a debate at the supermarket about what we should buy.  Being kids, of course they are drawn to the brightly coloured packaging of junk foods and at school they see a lot of the other kids eating these exciting looking things.  My challenge is to try and replicate some of these foods in a headliner way.  

Squeezie yoghurts are a great example of what many kids have for recess at school.  Most parents don't have time to read the label and so are often unaware of how much sugar, colours and flavours many of the commercial brands contain.  My kids have been asking me for years to please have these for recess.  Well at last, I can say yes!  I recently purchased some re-usable squeeze pouches, so I can fill them with a healthy alternative that pleases us all.

Creamy Banana Raspberry Squeezie
1 & 1/2 TBS chia seeds
1/2 an over ripe banana
6 organic raspberries (I used frozen)
200ml coconut milk (or milk of your choice)
80ml plain coconut yoghurt (or natural yoghurt of choice)

Place all ingredients into bowl or jug and blend with a stick blender until smooth.  Pour into squeezie pouch and seal. (Makes 2 squeezes)

All in the jug ready to blend

All in the jug ready to blend

Blending

Blending

Ready to pack into the lunch box

Ready to pack into the lunch box

Grapefruit Ginger Cake

Cooling on the rack

Cooling on the rack

On the weekend we went to visit family in the country and one of their friends had some fantastic citrus trees.  We were lucky enough to bring home a great big bag of lemons as well as the biggest grapefruit I have ever seen!  Given I already had some grapefruit at home, I was thinking of a good way to use some up, apart from just eating them each day (which I love to do too).  So here's a little cake I whipped up.

My oversized grapefruit next to an ordinary sized apple.

My oversized grapefruit next to an ordinary sized apple.

Grapefruit & ginger cake

Ingredients:
200g Almond meal
½ tsp Bicarb soda
1 tsp Cream tartar
½ tsp Ginger powder
30g Grapefruit zest (am guessing it’s about 1 normal grapefruit)
20g Honey (more if you like a sweeter cake)
20g Grapefruit pulp (basically just scoop it out of the grapefruit)
1 tsp Vanilla
25g Crystallised ginger
3 eggs (separated)
½ tsp apple cider vinegar

Method:
Preheat oven to 160 degrees Celsius.  Grease and line a spring from pan with baking paper.  I then put a slice of the huge grapefruit I was using on the bottom so that when I tipped the cake out it had a big ring of grapefruit on the top.  Set aside whilst you prepare the batter.

Combine all dry ingredientsin large bowl and set aside.  In a food processer, add the egg yolks, grapefruit zest and pulp, honey, vanilla & crystallised ginger.  Process until combined and not too lumpy.  Add the dry ingredients and process until a thickish batter is formed.  Tip back into the large bowl.

In a clean bowl, whip the egg whites and vinegar with electric beaters until stiff.  Gently fold the egg whip into the batter and pour into the prepared pan.

Bake for 30-40 minutes depending on your oven (mine is fan-forced so cooked in about 30 mins). Turn on to cooling rack whilst hot and allow to cool before slicing.

Warm chia pudding

I started writing this in June, so it was definitely a bit colder then, but today I made this again for breakfast as it was wet and gloomy.  Originally, I made this for lunch one winter day when I was craving something warm and yummy.  I couldn't be bothered cooking a proper meal, so instead I made this: a warm chia pudding.  I then made it again a few days later for the kids after school... they scoffed it down in a few seconds.  

Ingredients:
1 apple, peeled and grated
1 carrot, peeled and grated
1 TBS coconut oil
1/4 cup frozen berries (optional)
Ground ginger to taste
Ground cinnamon to taste
2 Tbs chia seeds per person
1/4-1/2 cup warm (not too hot!) filtered water per person
2+ TBS yoghurt per person (I used coconut, but cow or goat would be great too)
Ground almonds, walnuts and macadamia or any nuts you like.

In a small fry pan with lid, warm coconut oil and add apple and carrot.  Cook with lid on for about 5 minutes, or until soft and warm.  Add berries and heat until thawed.  Add cinnamon and ginger to taste (I used about 1/2 tsp of each, feel free to add more or less). 

Whilst this is cooking, place chia seeds in a bowl and add warmed filtered water.  Stir well, if too thick add a little more water. Once it's your desired thickness, add yoghurt and stir again.  Top with the carrot, apple & berries and sprinkle on the nuts.

Enjoy!

I didn't have any berries in this one

I didn't have any berries in this one


Pepita crackles

Looking for a quick healthy snack?  These tasty treats are pack with zinc, healthy fats and antioxidants.  They're really quick and easy to make too.  Best eaten straight from the fridge but will just hold together in a lunch box if it's not too hot outside.  If you want to make them more stable in the heat, you could add 2 TBS of melted cacao butter instead of the coconut oil.

2 TBS coconut oil
1 heaped tsp cacao
1/4 tsp honey
3/4 cup pepitas (pumpkin seeds)
1/4 cup shredded coconut
1 TBS chia seeds
1 TBS hemp seeds
1 TBS goji berries

Melt coconut oil and add cacao and honey.  Stir to combine.  Add all the other ingredients and stir to coat everything.  Spoon into patty pans and put in the fridge to firm up for about 20 minutes.
 

The power of positive thinking

The other day, I was reading an interesting article on the effects of positive affirmation on health related behaviour and I started thinking about this association.  Too often our health is negatively affected by our mental state as we “try to make ourselves feel better”. We reach for comfort food, over eat, drink too much and move too little, often because we are feeling the adversity of life’s tribulations.  Perhaps if we harbour this negativity, we could turn it into something positive?   

Instead of perpetuating the negative behaviour, perhaps try to recognise what is going on and do something positive for yourself instead.  Maybe go for a walk, take a relaxing bath or phone a fiend or family member who is willing to listen.  Or, if all that's too difficult, just begin with positive self talk.  It’s very important that you do keep this positive. For example, if you are feeling overweight and seriously resign yourself to the fact that you will always be this way, you probably will be!  But if you are feeling overweight and tell yourself, (and believe in yourself) that it is within your control to change it, you will be able to make that change.  Perhaps you can write a note reminding yourself that you are in charge of your own destiny and have the power to change everything.  Keep reading this every day, until you really believe it.  The same thing goes for other health conditions.  If you believe that you are strong enough to regain your health, chances are you will be able to achieve a healthier happier lifestyle. (NB, If you are on medication, you must continue taking this as prescribed by your doctor).  

Other ways you can increase your positivity are by identifying the main areas of negativity in your life.  Focusing on one area at at time, try to work out a more positive way of approaching it. For example; if you’ve never done something before, look at it as an opportunity to learn something new, rather then thinking you can’t do it; or, if you are feeling too lazy to make a change, take a look at your priorities and rearrange them to include the time necessary to achieve the goal; or think about the things you care most about in your life (ie. family, friends, pets, sport, work) and draw motivation from there.

These few things may not sound like they'll make much difference to you, but if you begin to implement them in every aspect of your life, you may just find that things start moving forward in a more positive direction for you.

Photo credit: © Carsten Erler

Roast Sweet Potato with Kangaroo chilli con carne

Like most kids, mine love roast potato.  So to make it a little more nutritious, I usually make it sweet potato.  We actually roasted these ones in a camp fire, but an oven is a little easier for most people!  I also cooked up a chilli con carne to put on top which is another hit with my girls.  Here's another of our family "go to" recipes.

1 sweet potato per person

1/2 cup dry black beans (could use 1 can, try to get BPA free)
Coconut oil or olive oil
500g mince meat (I used kangaroo, but organic beef is good too)
1 onion (diced)
1 carrot (peeled & grated)
1 zucchini (grated)
1 capsicum (diced)
1 cob of corn
2 cloves garlic (crushed)
2 cups passata (or 1 tin of tomatoes)
2 TBS tomato paste
1/2 cup of water
1 tsp paprika
1/4 tsp cumin
1/2 tsp oregano
1/2 tsp cinnamon
Salt & pepper
fresh coriander
Fresh chilli (optional)
Avocado and salad greens for serving

Soak black beans, ideally overnight then rinse well.  Boil until almost tender.  Rinse again and put aside.

Pre heat oven to 180 degrees C.  Stab sweet potato a couple of times to pierce skin. Place in oven and bake for 45-60 mins (depending on the size). Test to ensure they are cooked with a skewer. 

Once the potatos are in the oven, take a large heavy based saucepan and sauté the onion in oil until transparent.  Add mince meat and cook until just brown, add carrot & zucchini and mix though.  Cook for a minute or 2 then add garlic, passata, tomato paste, dry herbs, capsicum and water. Bring to simmer, then cover and cook gently for about an hour. 

Separately, steam the corn until just cooked.  Remove from heat and allow to cool. Once cooled, cut kernels off cob and put aside with the black beans. 

Once stew is cooked, add black beans, corn, fresh coriander. Season to taste with salt and pepper. Add fresh chili if using or just serve it on the side for those who want a bit of spice.

Pizza

Pizza is a favourite in our household.  Our pizza is of course anything but traditional, as it has no cheese and no refined grains. I dont think I could eat a regular pizza anymore, as it would just be so plain!  We make our base from scratch out of buckwheat and then top it with lots of vegetables and some free range meats and eggs.  It's no longer just a favourite of the kids, but the whole family gets excited by pizza night!

Ingredients
Base
3/4 cup Buckwheat flour
1 Tbs Coconut oil
2 Tbs Chia seeeds (ground)
1/2 tsp Oregano
1/4 tsp garlic powder
Pinch salt
1/2-1 TBS water

Topping (as much as you like)
Tomato paste
Garlic (crushed)
Zucchini (grated)
Carrot (grated)
Capsicum (diced)
Tomato (diced)
Mushrooms (sliced)
Kalamata olives (sliced)
Bacon (nitrate free)
Egg
Oregano (dried)
Any other toppings you like

Place pizza stone in oven and preheat to 180 degree celcius. 

Put all the ingredents for the base except water into a bowl and combine as well as you can.  Gradually add as much water as you need to be able to get the dough to come together (you may want to use your hands).  Once it is well combined, divide in half and roll each half between 2 pieces of baking paper.  Make it pretty thin (approx. 1/2cm).  Remove top sheet of baking paper and place the bottom piece of baking paper with the rolled dough on the preheated pizza stone (if you don't have a pizza stone, place straight on oven rack).  Bake for 8-10 mins.

Remove from oven and top with your choice of toppings.  I would recommend wetter vegetables, like tomato be put on at the end so they dry out a little and don't make your base go soggy. Return pizza to oven until almost cooked. With about 5-10 mins to go, crack an egg on top of pizza, then continue to cook until egg white is cooked (if you like a hard yolk, pierce when you add the egg to the pizza).

Garnish with salad leaves and olive oil

Cauliflower Paella

Ingredients
Olive oil
1-2 cloves garlic
1 carrot
1 onion
1 head cauliflower cut into 1/8
1 capsicum (diced)
1 handful green beans (diced)
1 tin tomatoes (400g)
½ tsp cumin
¼ tsp paprika
2-3 threads saffron
2-3 TBS fresh parsley
Salt & pepper
400g mixed seafood
1 chorizo (nitrate free & preservative free, see below for the one I like) chopped into rounds or smaller if you like

Method
Add onion, garlic and carrot to a food processer and pulse until diced.  Remove and put aside.  Add half the head of cauliflower to food processor and pulse to a rice like consistency. Add to another bowl.  Repeat with remainder of cauliflower.

In a wide heavy based pan, add a big glug of olive oil and head over medium heat.  Add the onion, carrot & garlic.  Sauté for about 2 mins, then add the spices and continue to sauté until fragrant.  Add cauliflower and stir through into the spices.  Continue sautéing for about 5 minutes, then add tin tomatoes, capsicum & green beans.  Allow to continue cooking on medium heat without stirring, but keeping an eye on it ensuring it’s not burning (if it looks like it's burning, stir gently).  Once cauliflower is almost soft, push over to once side and add a little more oil and the seafood and chorizo.  Cook until seafood is cooked through.  Mix all together and stir through parsley.  Season with salt and pepper if needed and serve while hot. 

Cauliflower after being in the food processor

Cauliflower after being in the food processor

This is the brand of chorizo I use

This is the brand of chorizo I use

Here are the ingredients and contact details for the chorizo 

Here are the ingredients and contact details for the chorizo 

IMG_1486.jpg

Black Forest Cake

So much delicious fruit around at the moment, and last week I managed to find organic cherries at the markets, so stocked up.  What better thing to make with fresh cherries than black forest cake!  OK, so it's definitely not a traditional recipe, but it tastes pretty good and of course, has some hidden veggies.

Recipe
50g cacao
170g ground almonds
20g tapioca flour
1 tsp creme tartar
1/2 tsp bicarb soda
200g zucchini
2 eggs
80g honey
1 tsp vanilla essence
20g coconut oil
8 pitted fresh (or frozen) cherries chopped into quarters

Preheat oven to 180 degree Celsius.  Combine dry ingredients in a large mixing bowl.  In a food processor add the zucchini and blitz until it sticks to the edges.  Scrape edge of food processor bowl and add eggs. Process again until zucchini is well chopped. Add rest of wet ingredients except cherries and blitz to combine.  Slowly add the wet ingredients to the dry until just combined.  Pour into lined cake tin and add cherries to the top, gently submurging some a little.  Bake for 30-40 mins, or until toothpick comes out clean.

I iced mine with coconut cream (with a little vanilla essence) and decorated it with fresh cherries. The cake itself is quite moist. If you put it in the fridge it firms up a bit and becomes more fudgy.

Prior to icing (not the prettiest looking cake!)

Once it was cooked... not the prettiest looking thing!

After frosting with coconut cream and decorating with fresh cherries

After frosting with coconut cream and decorating with fresh cherries

The next day after refrigeration... it tastes even better a day later!

The next day after refrigeration... it tastes even better a day later!

Apricot tea cake

Since the Summer is almost here, apricots are appearing in the stores.  We went for a drive this past weekend and found a litte fruit store that was selling boxes of little apricots for only $3! Now having an abundance of apricots in the fruit bowl, the kids decided we needed to do something with them. This was the result:

Apricot tea cake
1 medium zucchini
2 eggs
2 TBS honey (more if you want to hide buckwheat flavour or like a sweeter cake)
1 tsp vanilla
1 TBS coconut oil
80g buckwheat flour
30g tapioca flour
1 tsp bicarb soda
1 tsp creme tartar
1/4 cup shredded coconut (optional)
6 fresh apricots

Preheat oven to 180degrees C and line a 20cm cake pan with baking paper
Peel zucchini (this is purly for aesthetics, so you can't see green flecks) and place zucchini in food processor.  Process until finely chopped.  Add eggs and all wet ingredients and process again until well combined.  Sift in dry ingredients and gently combine (I did this by hand to try and keep some lightness in the cake).  Dice 3 apricots and carefully stir through batter.  Pour batter into lined cake pan and decorate with remaining apricots.  My kids made a sort of sun with a face.  Bake in oven for approx. 20mins, testing with a skewer.  Turn on to wire cooling rack and allow to cool for a little while before slicing, although eating it whilst still warm is delicious. If it's not sweet enough for you, drizzle with a little melted coconut oil and honey, or cook up a few more apricots to make a sort of puree to use as a spread on it.

After the kids decorated it, prior to baking

After the kids decorated it, prior to baking

We put some almonds on for eyes and dusted it with a tiny bit of xylitol for decoration.

We put some almonds on for eyes and dusted it with a tiny bit of xylitol for decoration.

Hidden vege banana blueberry muffins

Most weekends we bake. I enjoy creating recipes and we all enjoy eating the outcome (usually!).  Like most mums, I'm always trying to find ways to get that extra serving of vegetable into my kids.  I'm fairly lucky that both my girls like most vegetable and are usually happy to eat them, but still, I like to sneak them in wherever possible.  Here's a muffin that the kids will never suspect has a serving of cauliflower in it.

Banana Blueberry Muffins

Ingredients:
110g cauliflower
2 very ripe bananas (150g peeled)
2 large eggs
30g coconut oil (plus extra for greasing muffin liners)
10g (2 tsp) maple syrup (add more if banana aren't that ripe)
5g (1 tsp) vanilla essence
90g buckwheat flour
25g tapioca flour
5g (1 tsp) bicarb soda
5g (1 tsp) creme tartar
48 blueberries (fresh or frozen)

Preheat oven to 180degrees Celsius. Grease 12 muffin liners and place in muffin try.  
Place cauliflower in food processor and blend well.  Add banana and blend again.  Add all wet ingredients except blueberries and blend until well combined.  Pour into large mixing bowl and then sift in all dry ingredients.  Gently mix until just combined. Pour into greased muffin cups. Place 4 blueberries on top of each muffin and bake for approx. 17-18 minutes at 180.

Birthday dilemma

A big problem for me is children’s birthdays. As a mum I want them to have as much fun as their friends do, but at the same time, I don’t want them eating all that sugar and rubbish that usually accompanies a party.  Thankfully, I have implemented an alternate year party rule (meaning they only have a party every second year), however even on the off year, they still expect a cake that looks like it’s come from a lolly shop.  I’m always on a mission to adapt regular recipes and ideas to create a similar looking outcome without all the rubbish.  As my eldest daughter gets older, it does get a little easier for me.  She is beginning to understand the implications of what this all means.  So this year, she trawled through the Women’s Weekly Cake Book (as she does quite frequently), however she made a choice that was a lot easier than the usual ones – “The Owl”.

The original and my variation

I made a chocolate cake made from coconut flour (which to be honest was a bit dry), then I iced it with icing made from coconut oil, coconut cream, honey and a tiny bit of tapioca flour.  Next came the decorating.  The owl traditionally has desiccated coconut coloured with food dye.  I used organic shredded coconut which I pulsed in the food processor dessicated it, then as most of it was brown, I just mixed it with some cacao.  I then sifted out the excess cacao (and used it in a smoothie the next day).  To make the red colour, I mixed the coconut with some beetroot powder and did the same thing, sifting out the excess (and added that to my smoothie too!).  For the eyes, I used some of the icing and a tiny piece of dark chocolate (90%).  For the beak I used a slither of crystalised ginger with another 2 tiny pieces of chocolate as the nostrils.

My finished product